
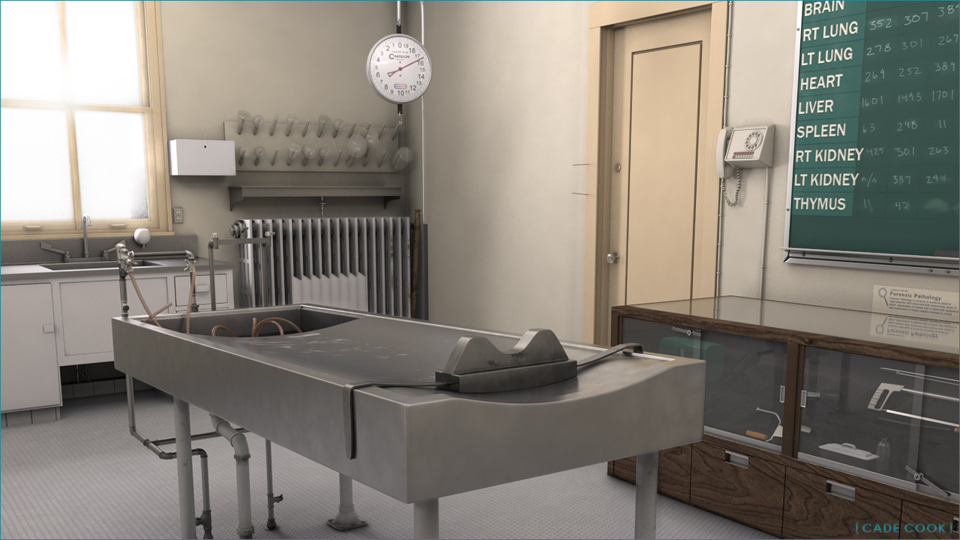
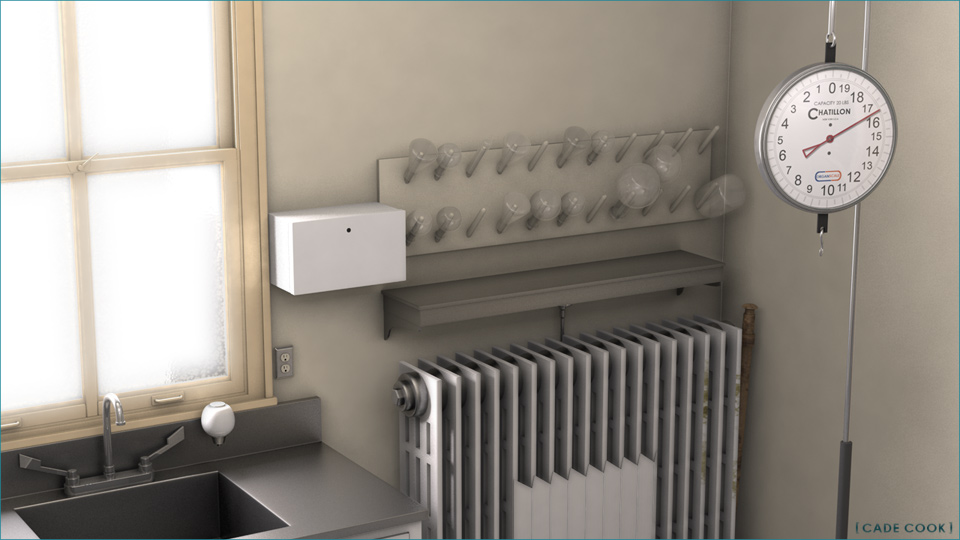
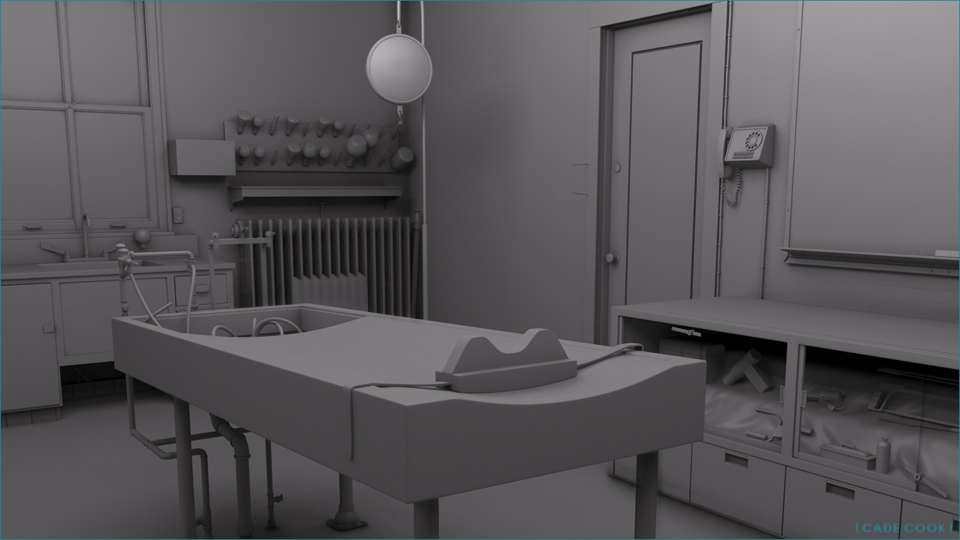
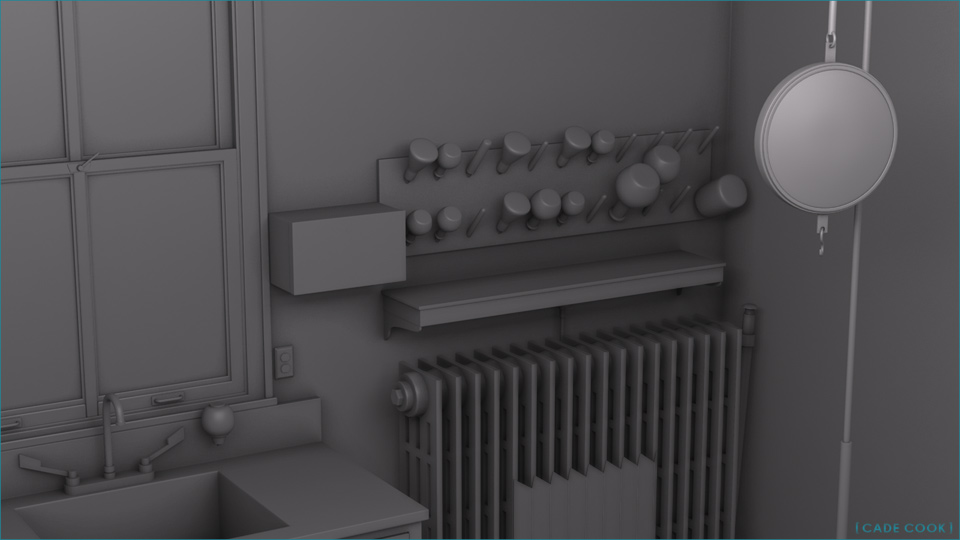
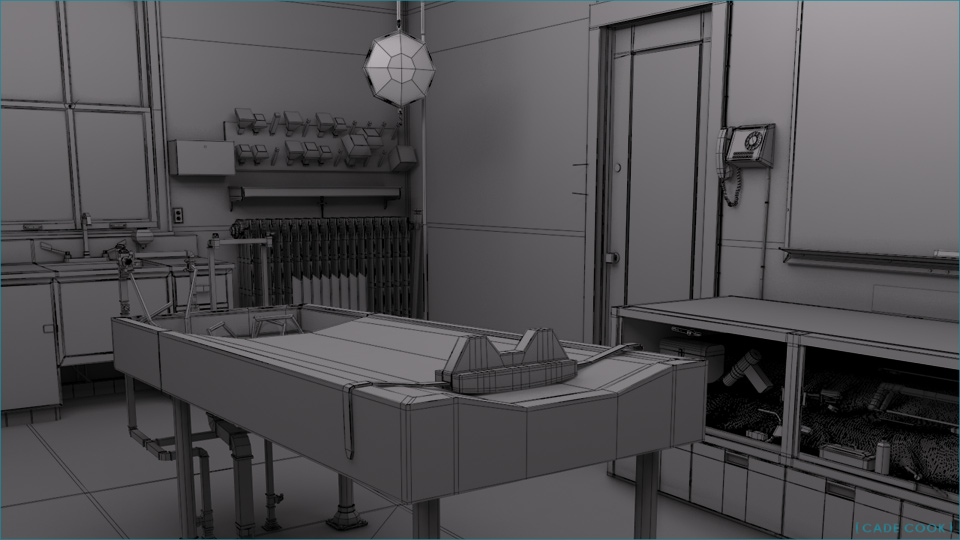
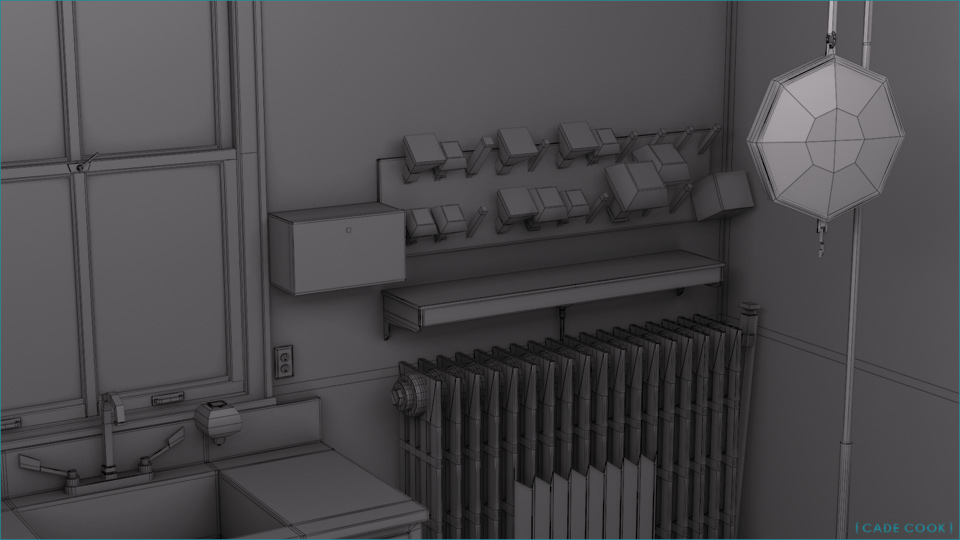
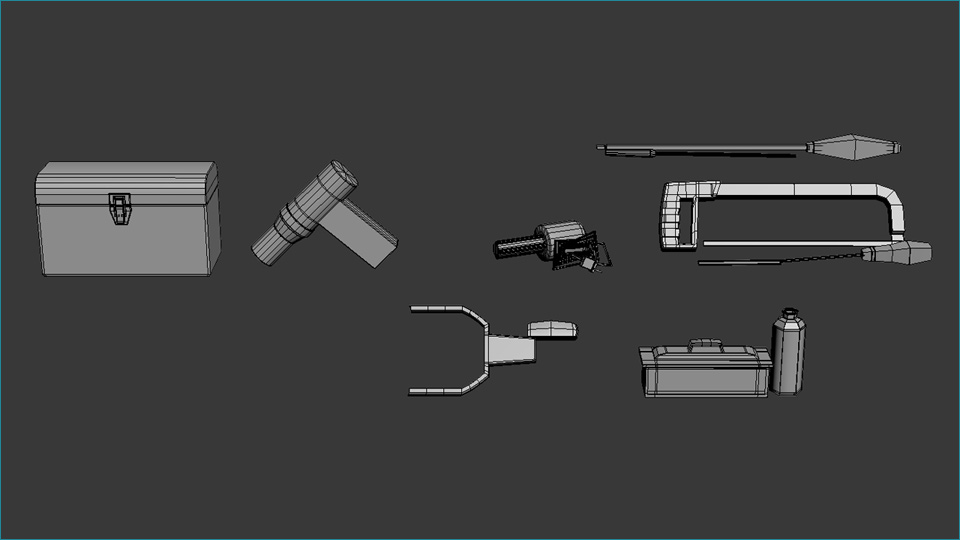
The wires for the various tools inside the display case were difficult to see in the earlier shots, so here they are by themselves. For the most part, I could get the visual information for modeling these from the original reference photo, but I went ahead and referenced a few other surgical tools etc to supplement any of that missing info.
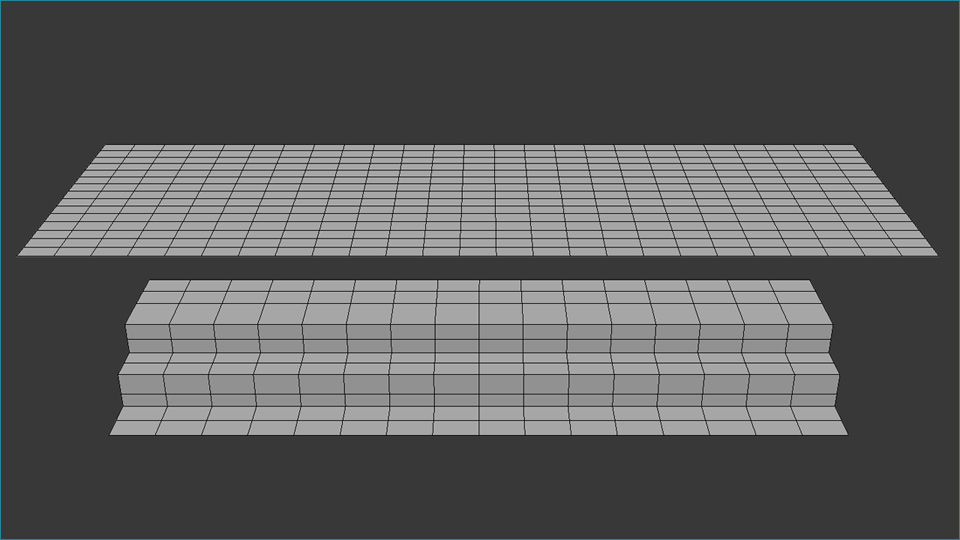
There is a black cloth that covers the shelves inside the display case. To begin creating that, I blocked in some rough shelves and created a plane with enough subdivisions so that I could run a cloth simulation.
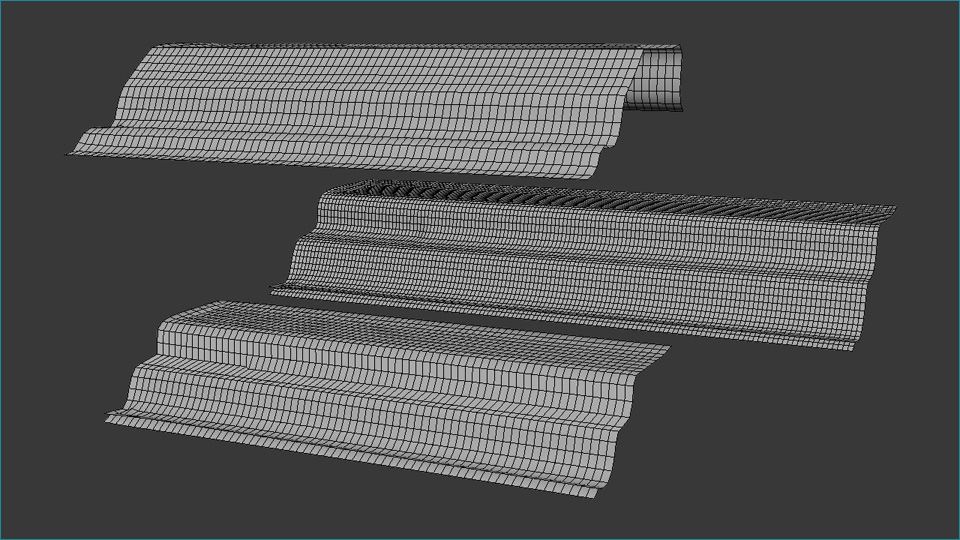
I actually went through the cloth simulation process in Maya, but I believe comparable results can be achieved using the "Cloth" modifier in 3DS Max. In the image above are three different results I attained by running through that process. I actually ended up using the bottom-most version. It is not as subdivided as the middle one, but my plan was to import it into ZBrush and continue subdividing/manipulating the mesh there, so I was not overly concerned about that.
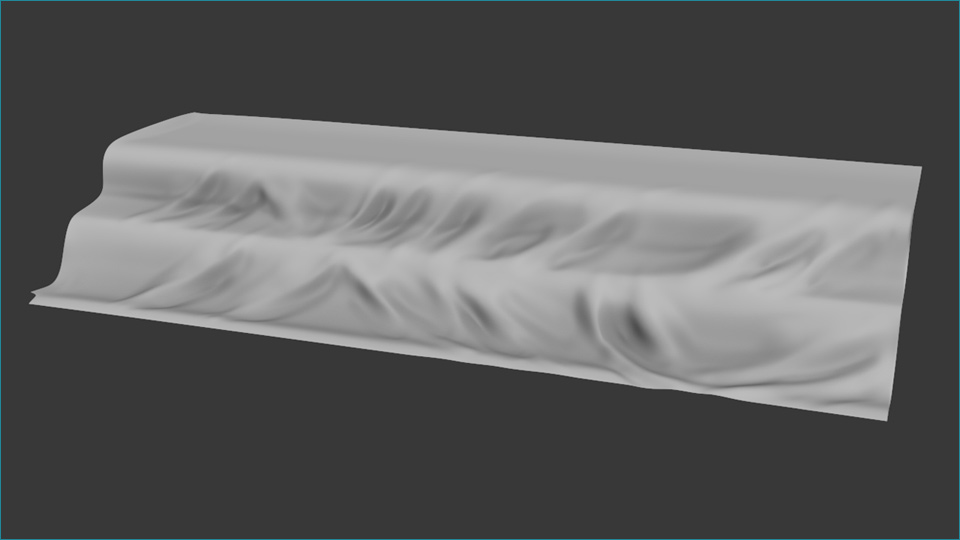
This is the final result of the cloth simulation combined with some ZBrush sculpting. In creating the wrinkles between the shelves, I really focused on how the cloth stretched across the space in certain areas and how it wrapped around and conformed to the tools in others.
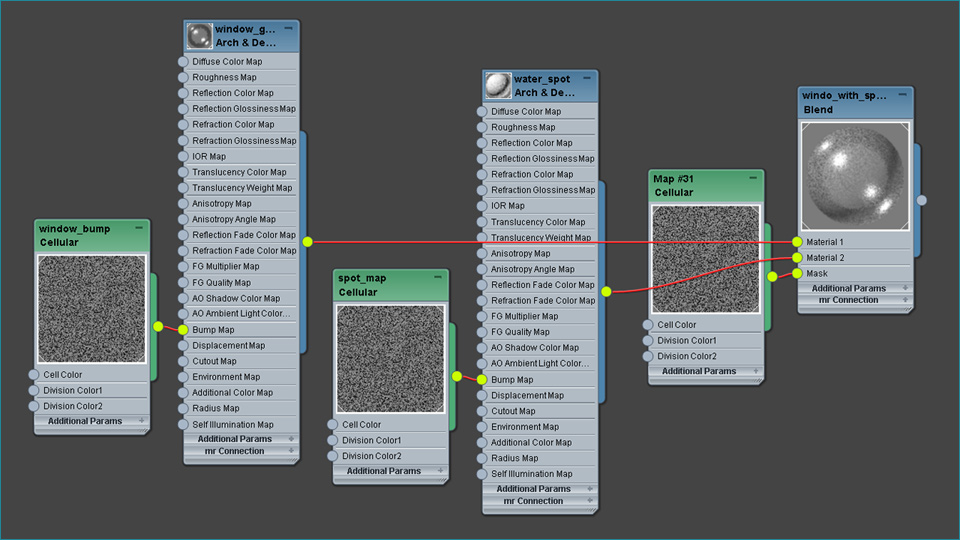
The material shown above is for the window at the far side of the room. I wanted to give the glass itself some three-dimensional texture, but I also wanted to give the impression that the window had not been washed in a while and had water spots and dust built up on it. Cellular noise maps were used in the Bump Map slots to give the piece a little extra dimensionality. One was also used as a mask to get the "watter spotting" effect in the diffuse of the material.
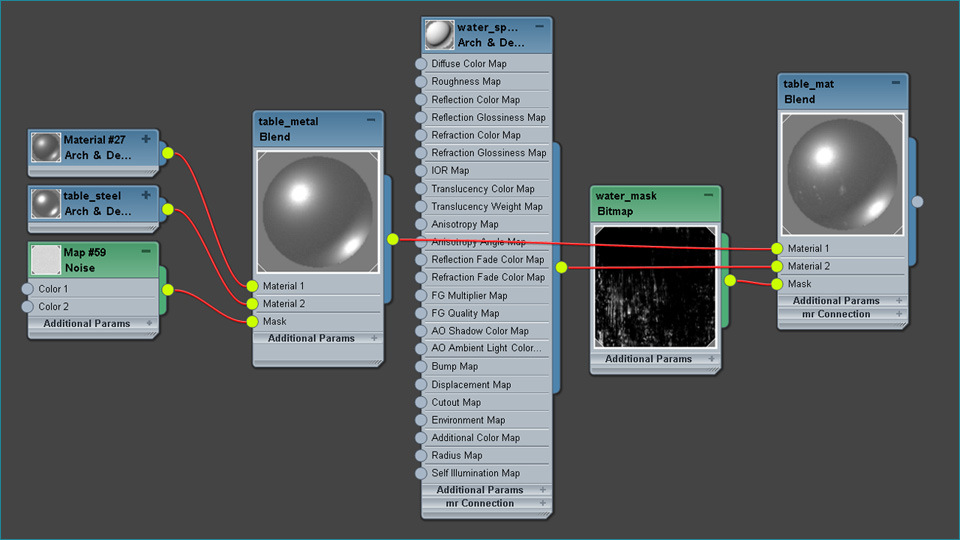
This material is the one applied to the operating table. It utilizes two different colored metal textures mixed together with a black and white noise map (as a mask). I also used a bitmap to mask in some hard water stains over the metal on top of the table. Most of the bitmaps in the scene were applied to objects using the simple planar/cylindrical/box mapping options in the UVW Map modifier. There are many different materials in the scene, but these two give a pretty good idea of how I went about approaching the environment in general. It is an old building, but it has been well maintained, so I wanted there to be some "imperfection" without making it overly dirty or grungy. There are a lot of slightly different materials used for the metal surfaces like the pipes and counter top. I broke up the larger painted areas like the walls and door with subtly varied noise maps.
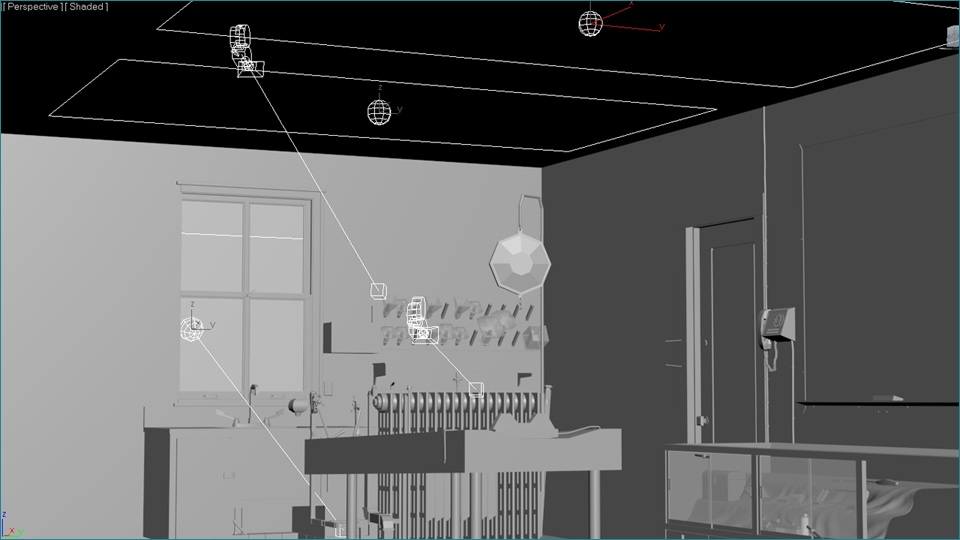
This shot shows the placement of my cameras and lights. Both cameras were 35mm. The right camera was placed a little lower than "average human" height, while the one on the left was placed quite a bit higher. For lighting, I used three Photometric lights in the scene. There are two inside that I intended to kind of simulate rectangular sets of fluorescent lights. The one outside the window acted as my sunlight.
 |
 |
 |
 |
 |