
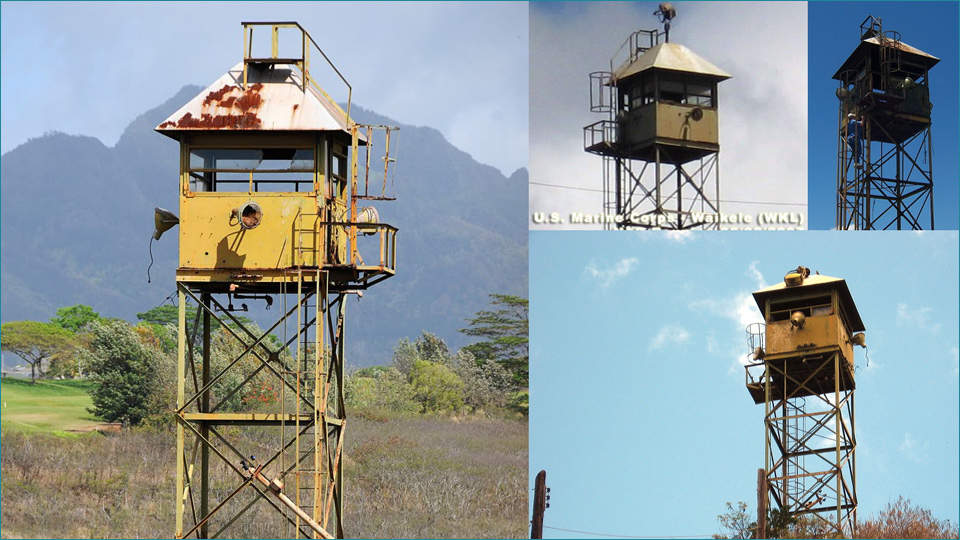
Here are a few of the reference images I was able to find for this model. The first image I found was the large one on the left. I did some research and was able to find the three on the right (and a few more). They do not seem to be the same guard tower, but are located in the same military base.
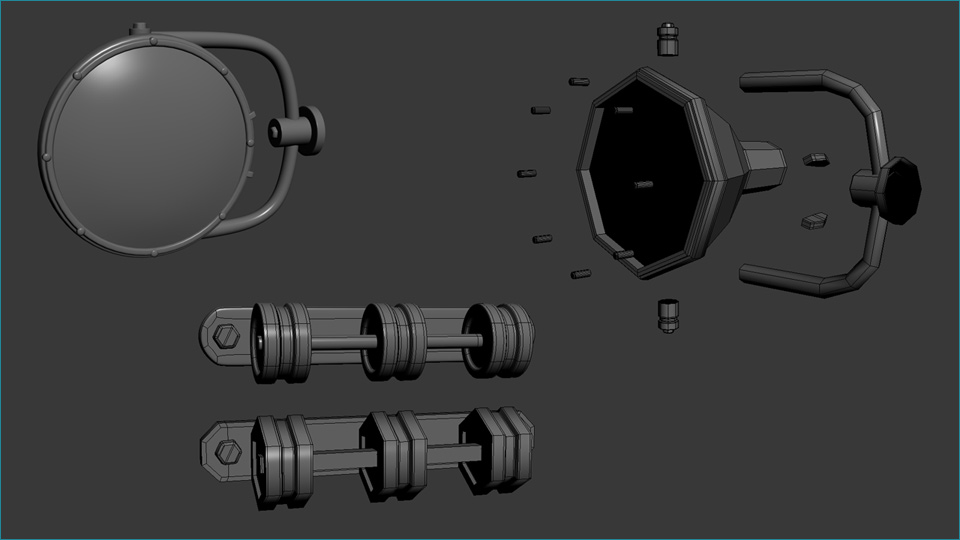
I realize that some of the pieces on the tower are fairly small in my final renders, so I decided to include some closer shots of a few of those pieces. The top two screenshots are of one of the lights on each side of the tower. Cylinders were used to create just about all of the shapes of the lights. The bottom two shots are of the small pieces mounted to the I-beams below each of the lights. Those were made primarily of cylinders as well. I did not use TurboSmooth/MeshSmooth modifiers on the rivets or bolts.
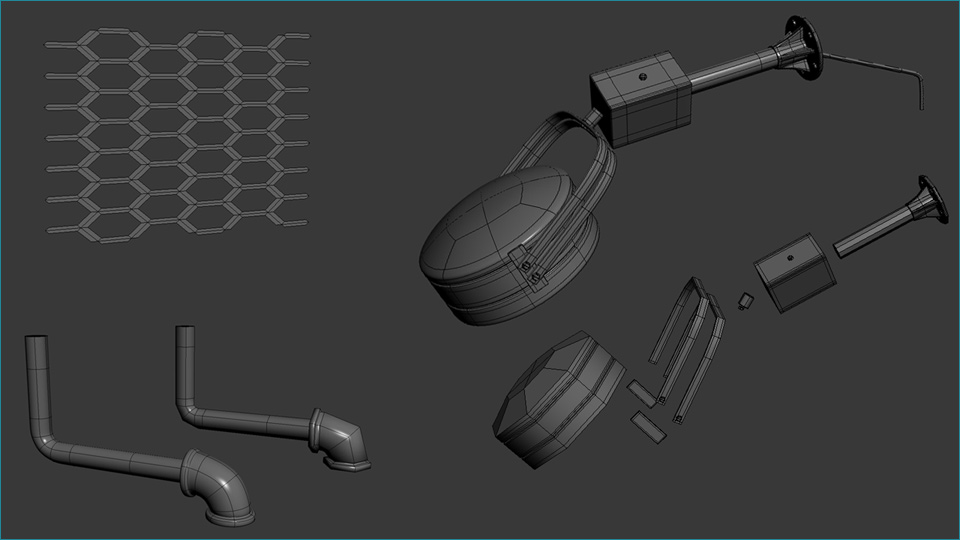
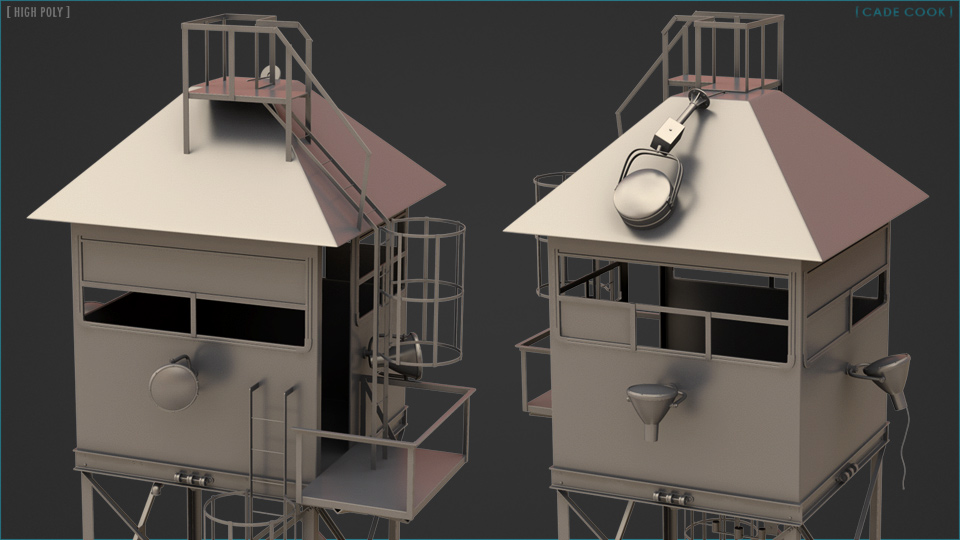
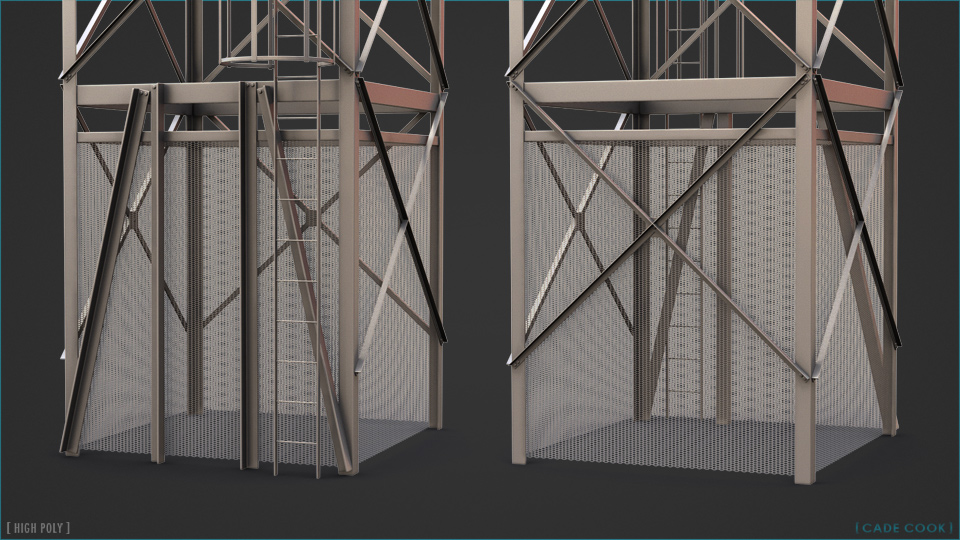
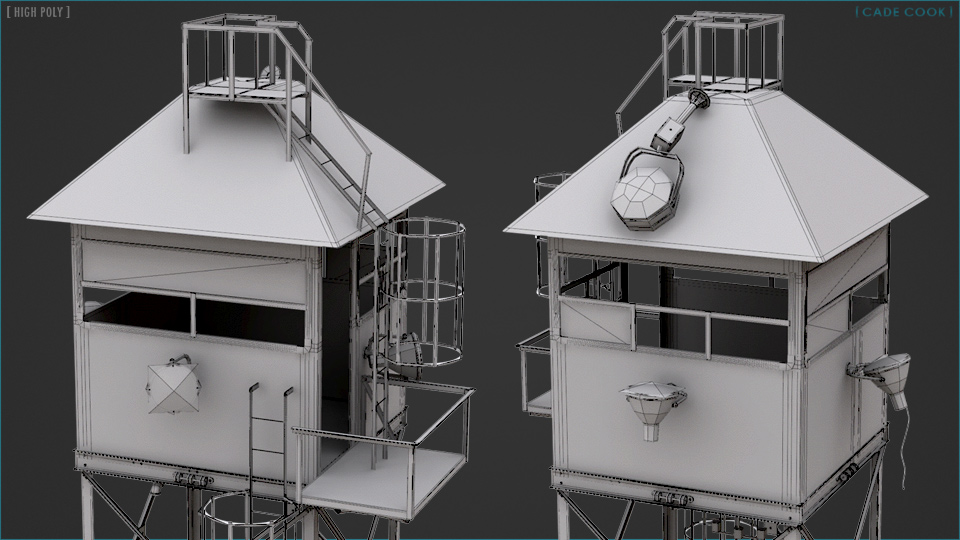
These are a few more pieces from the high poly tower. I initially created the mesh around the base of the tower (shown top left) using the "hexlattice" script from scriptspot.com, but later decided against that method. I've posted the alternative I decided to go with below. In the bottom left corner is an example of one of the pipes that comes out of the floor of the tower. On the right are the smoothed and unsmoothed versions of the broken spotlight on the roof.
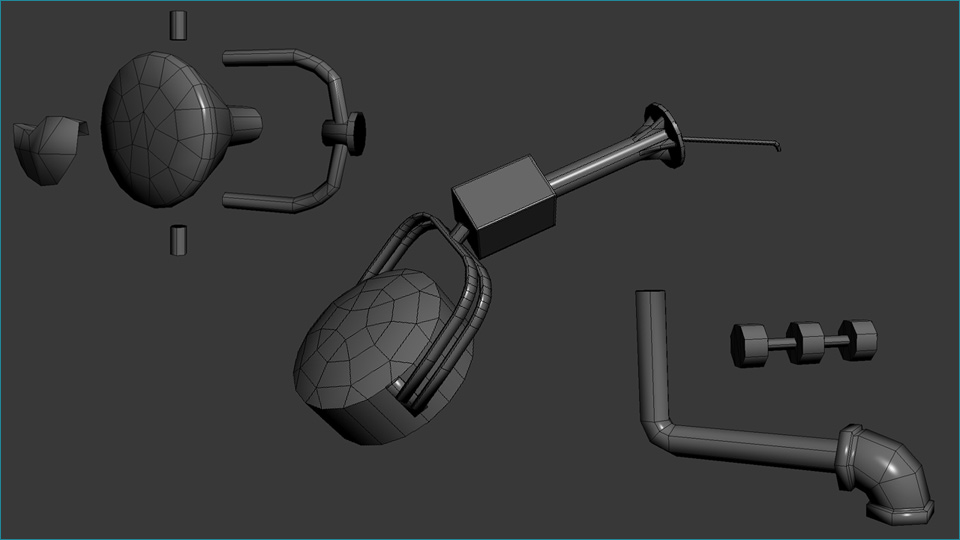
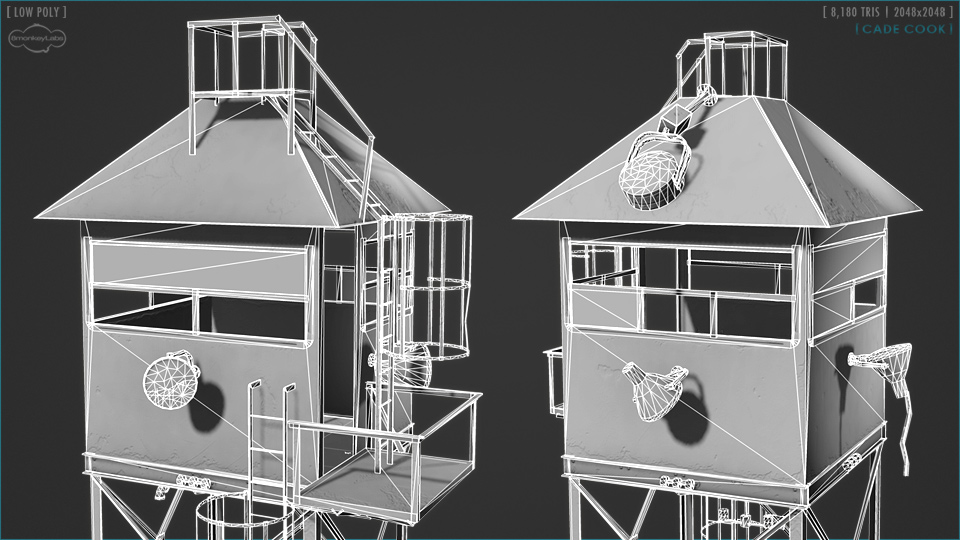
Here are a few shots of the same pieces, but from the low poly model. The piece to the left of the smaller light (top left) is what I used to create the bird's nest. I utilized the xNormal Photoshop filter to convert a black and white image into the normal information for the detail on the nest. In the center is the low poly version of the broken spotlight on top of the tower, and on the right are two more of the smaller exterior detail pieces.
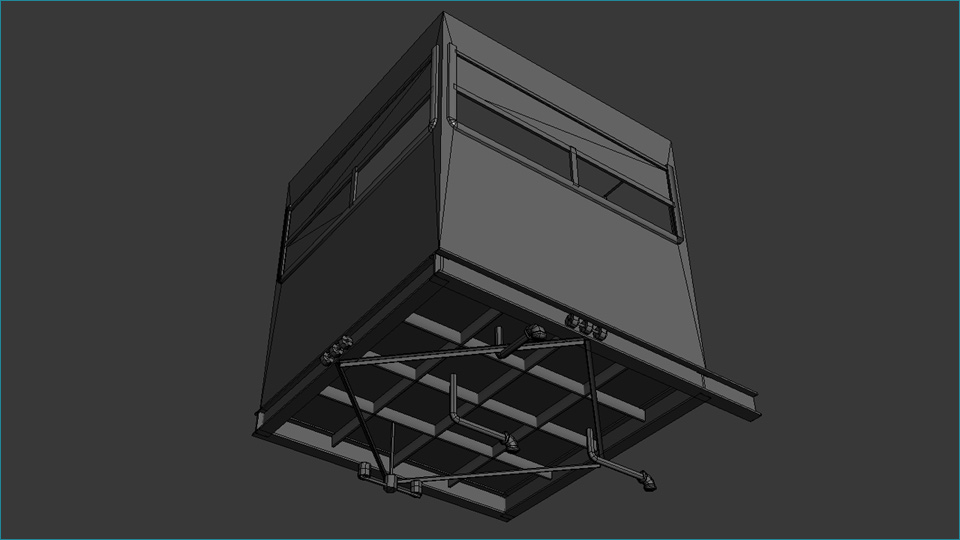
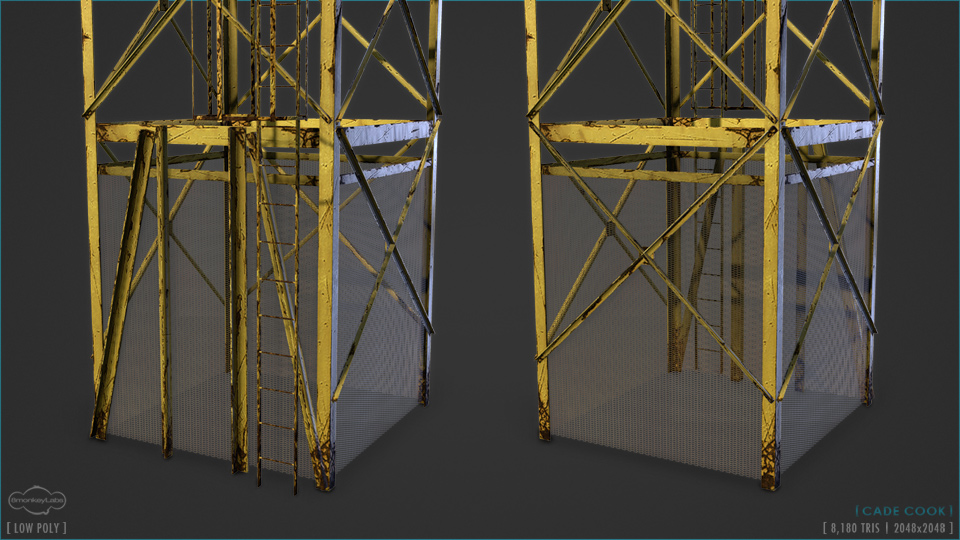
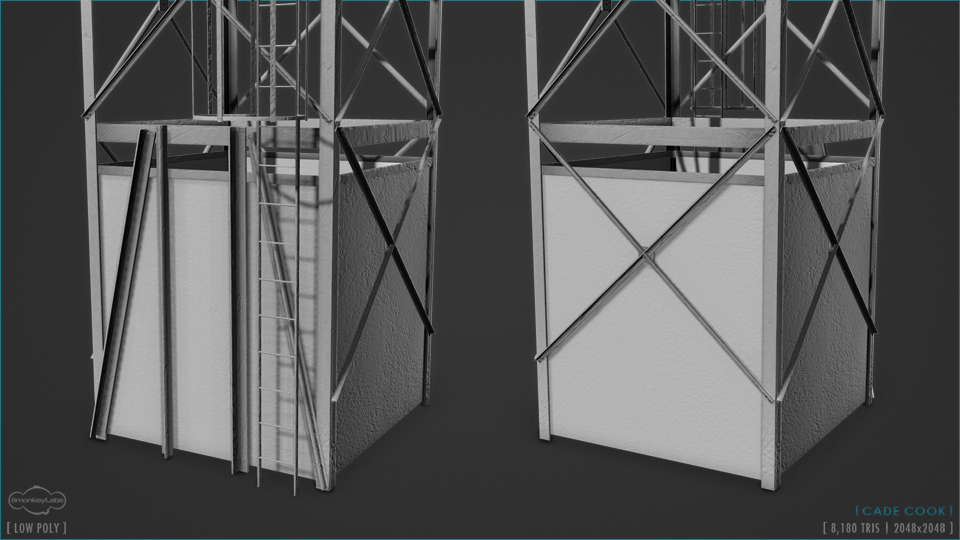
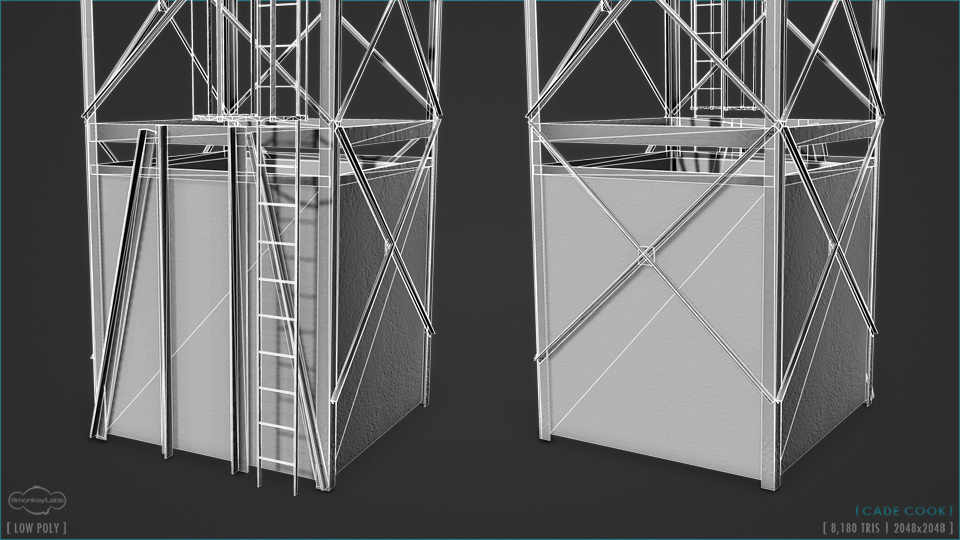
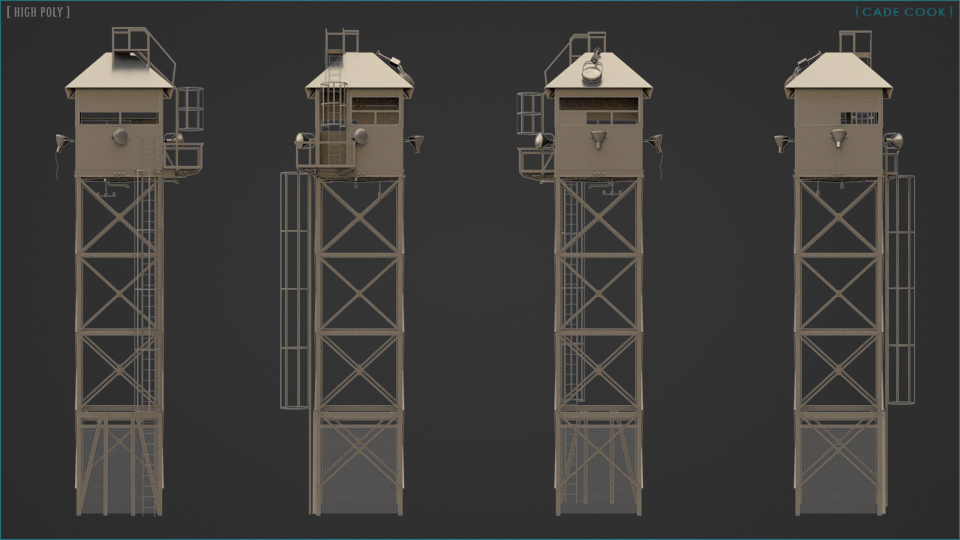
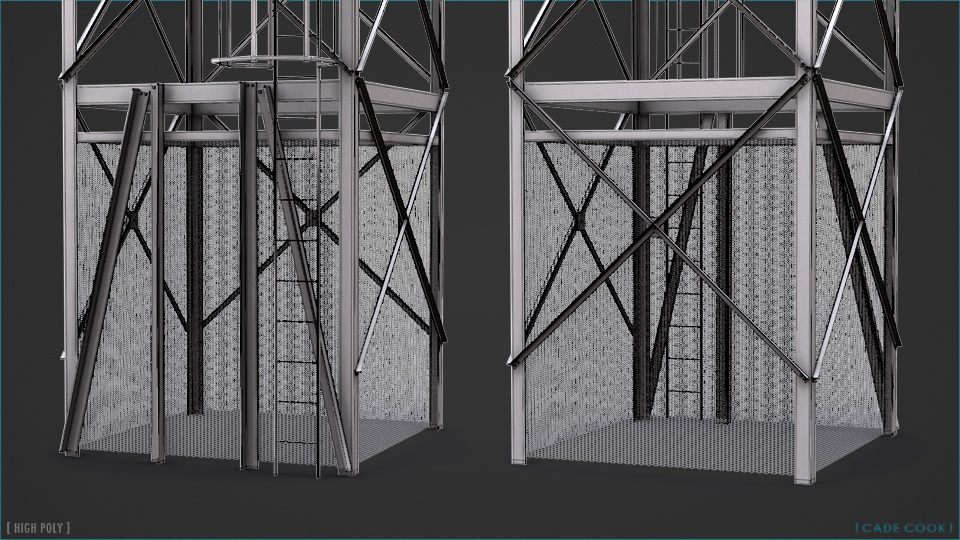
The bottom of the tower has a support beam structure. I created the perpendicular bars from boxes, and repurposed some of the cross bars from the sides of the tower to create the diagonal ones. This angle gives a better view of the pipes and other things under the floor.
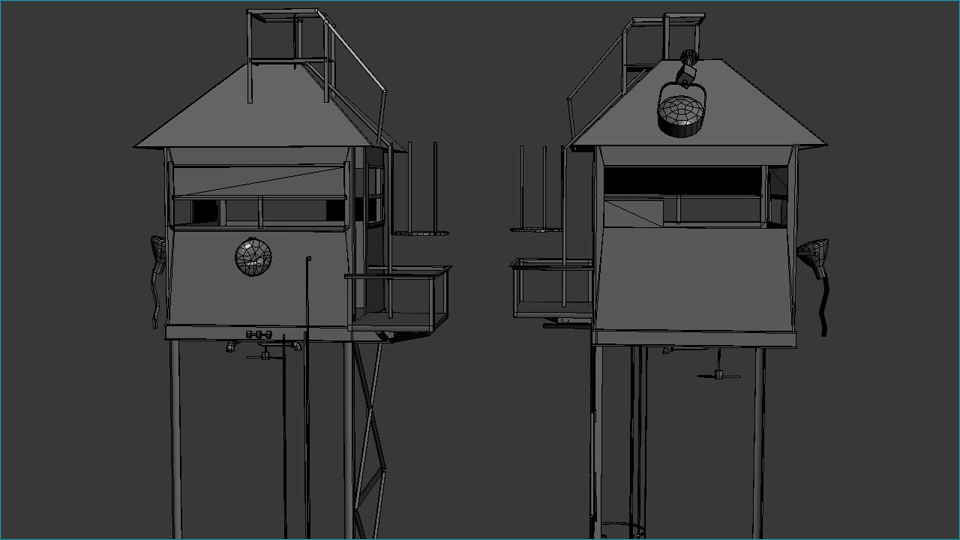
To save texture space (and because the tower had quite a few repeating shapes), I did not unwrap each piece individually. These shots show the pieces I decided to unwrap from the top half of the model.
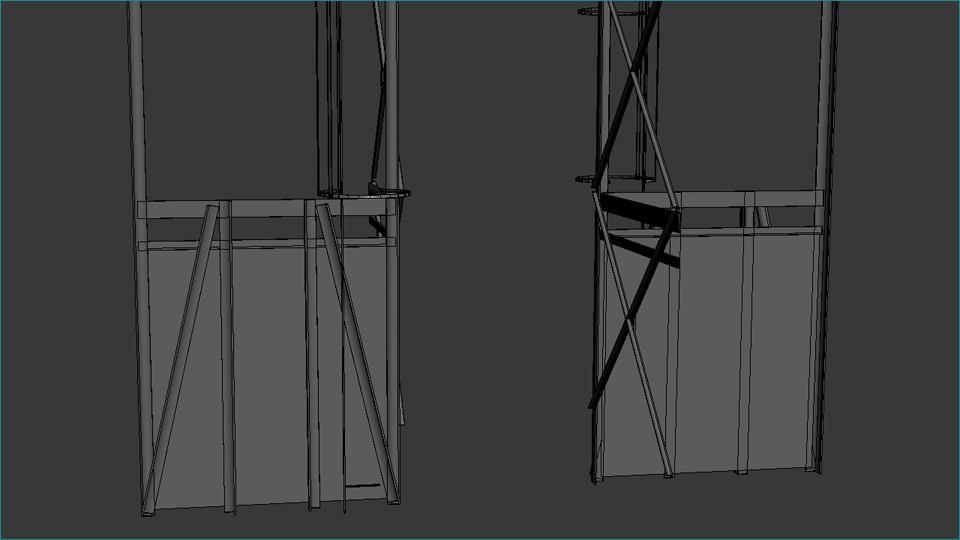
These two shots show the pieces I decided to unwrap from the bottom of the tower.
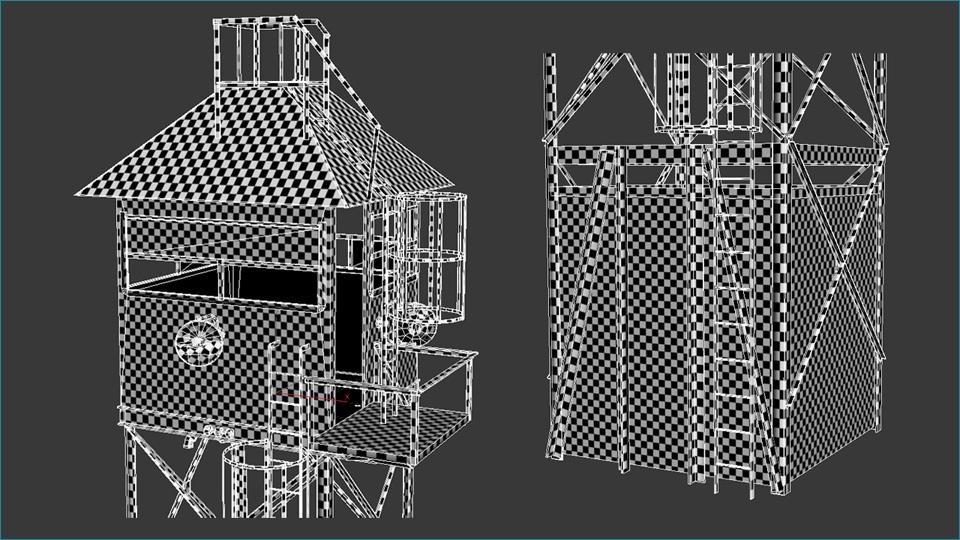
I allowed for a little more stretching on a few of these pieces. The window frames and the roof are the main culprits, but I chose to let those areas stretch some as a trade off for more efficient packing. I also tried to vary the texel density slightly for different pieces depending on how "important" they were.
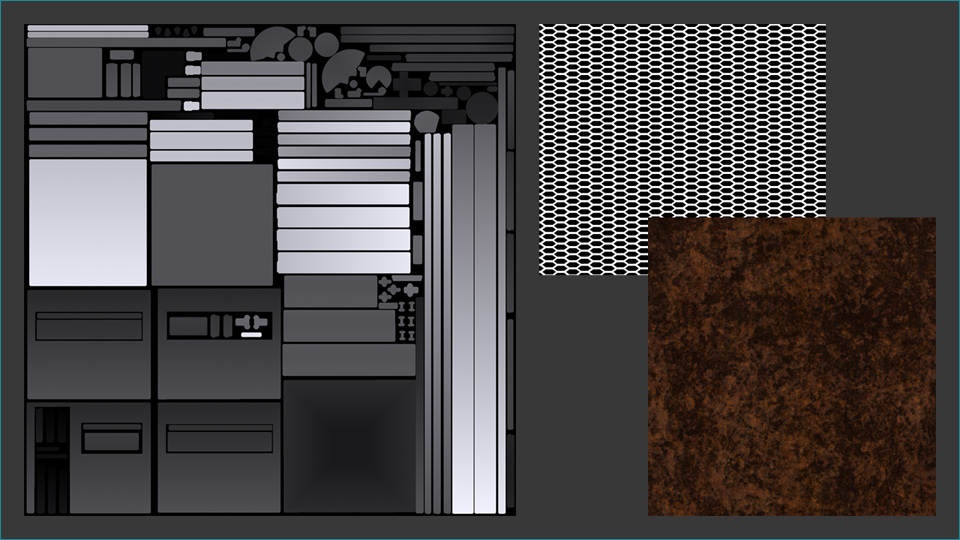
On the left of this image is a gradient map that I rendered out of Max. I used it to create a yellow to green transition from top to bottom of the tower in Photoshop. I thought it would add a little more visual interest to the piece as opposed to just a solid yellow across the whole thing. I generated the black and white hexagonal pattern in Photoshop instead of trying to cast an alpha using the "hexlattice" script in Max. I got this to come out a little cleaner than that method. The image in the bottom right corner is a magnified section of the rust underneath the paint on the tower. I used a photo as a starting point and painted over that with a grunge brush or two to get the variation that I wanted.
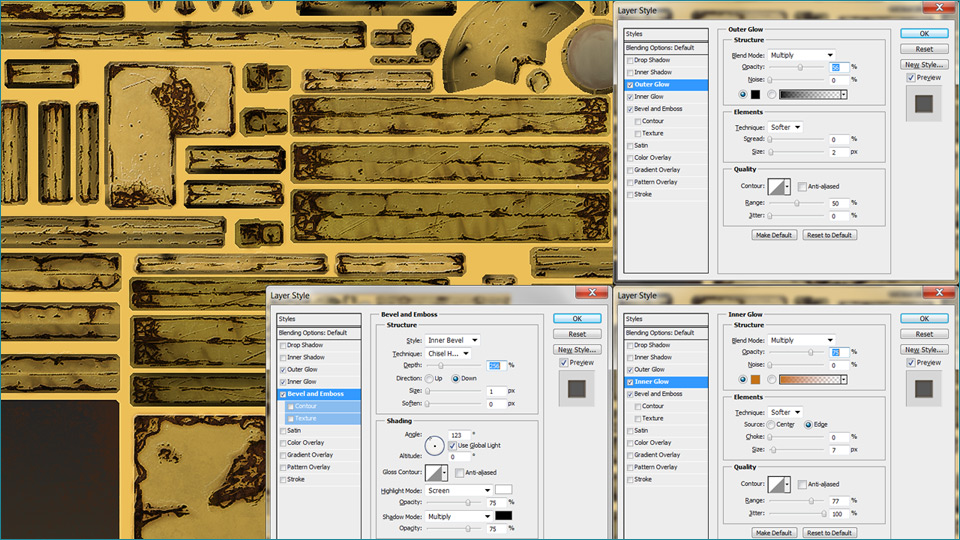
In this shot, I have put together the three main layer styles I used to make the paint look like it was peeling off and lifting away from the rust. These were all applied to the paint layer itself so that when it was masked away, the rust underneath would be exposed and I would get these results. The outer glow acts almost as a drop shadow over the rust, which helps add some of that dimensionality. The bevel and emboss helps to highlight the raised edges of the paint, and the inner glow makes areas of the paint seem thinner and that some of the orange-brown from the rust is starting to show through.
 |
 |
 |
 |
 |