
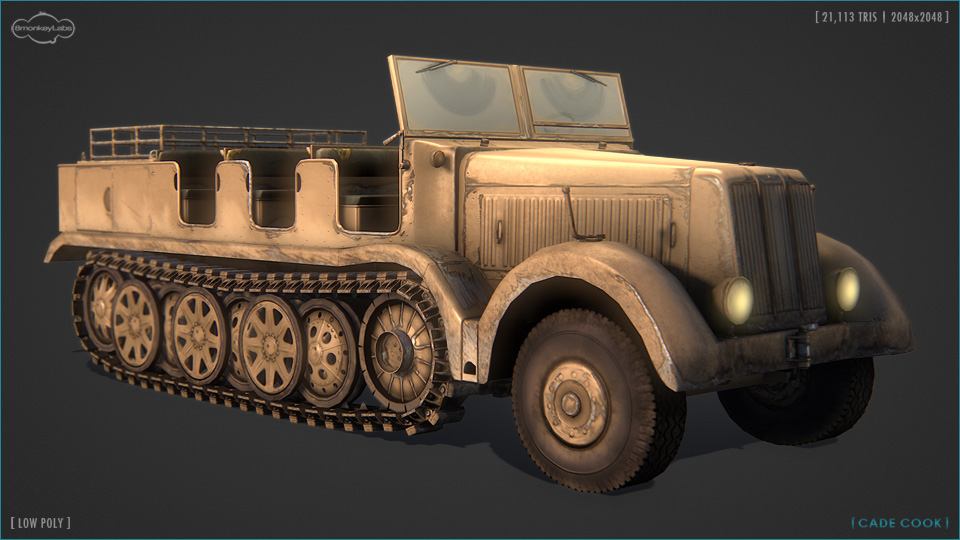
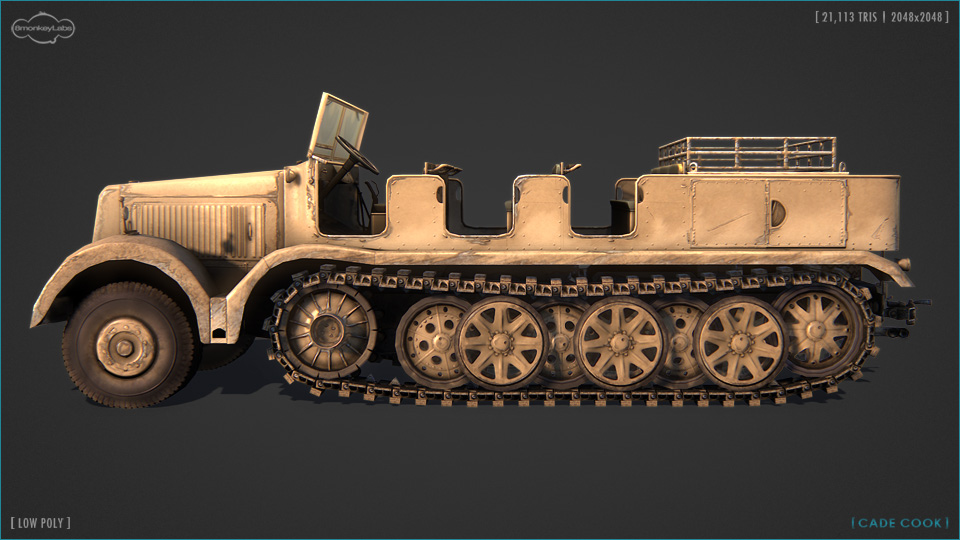
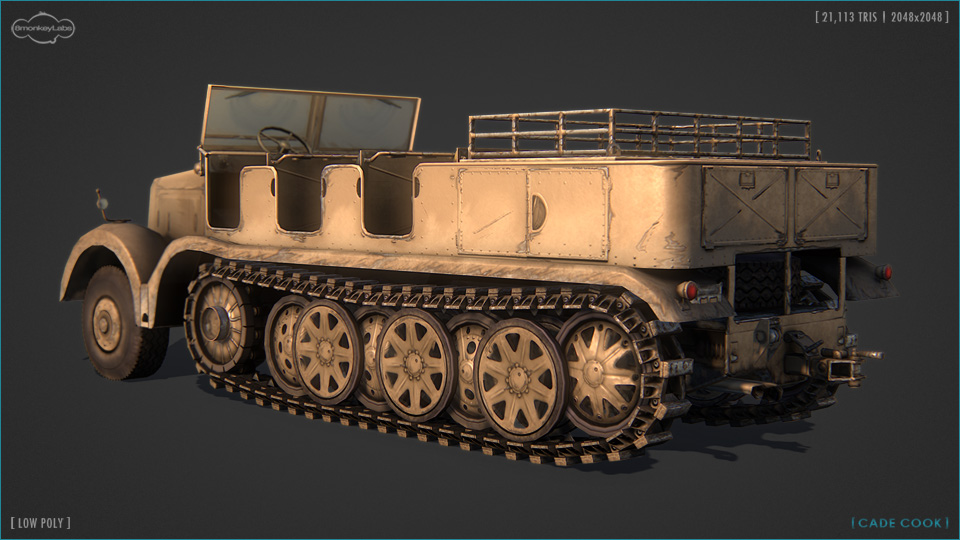
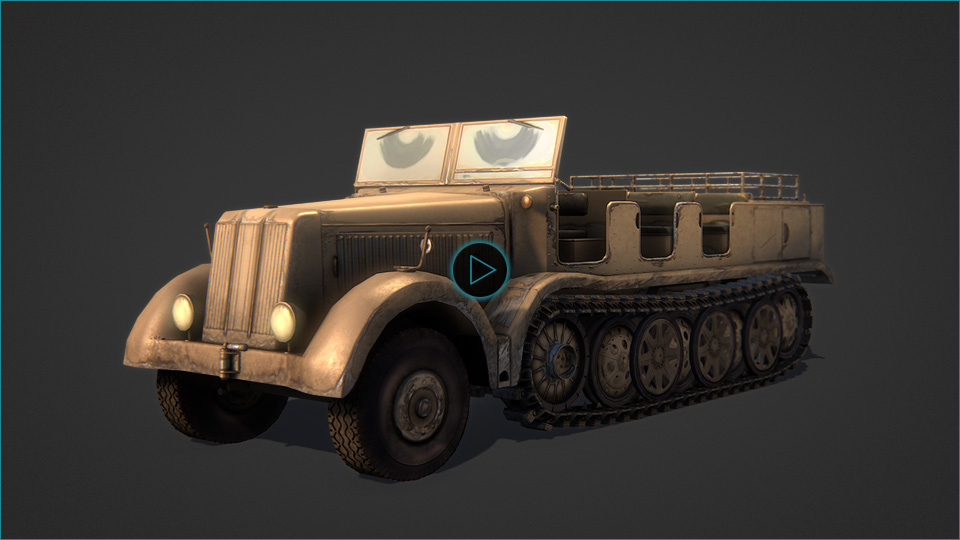
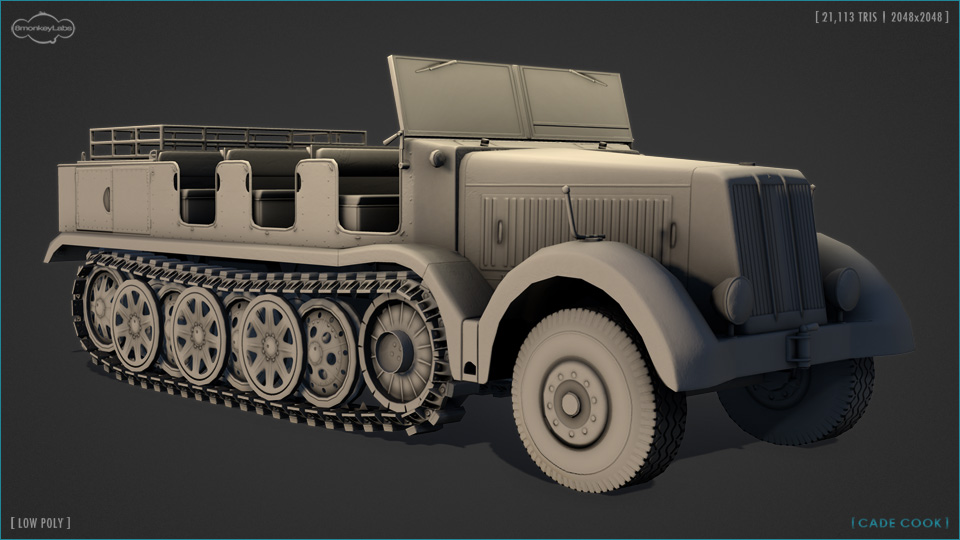
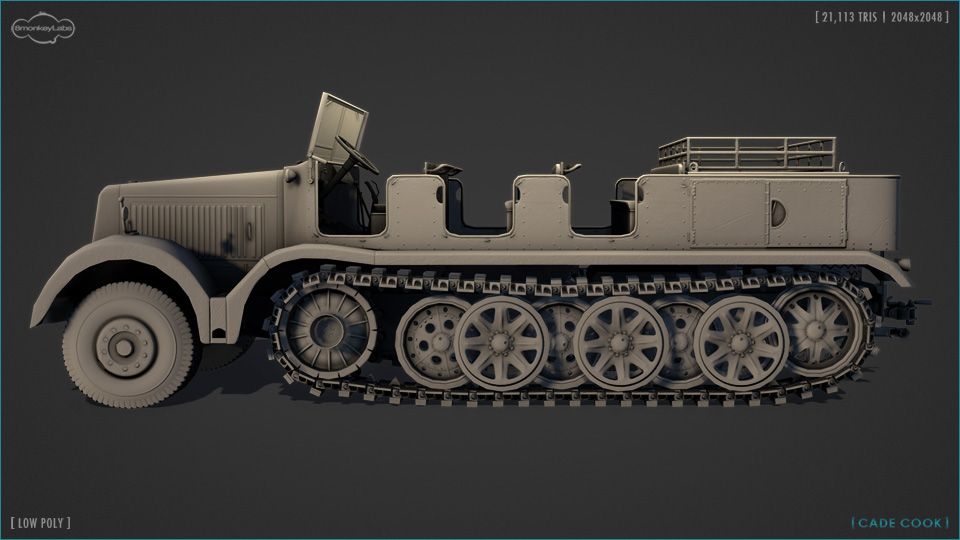
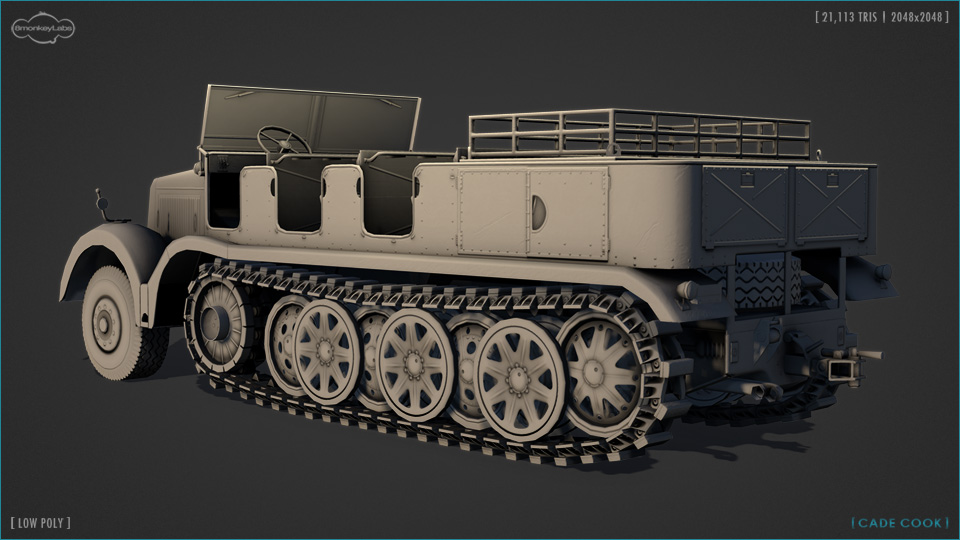
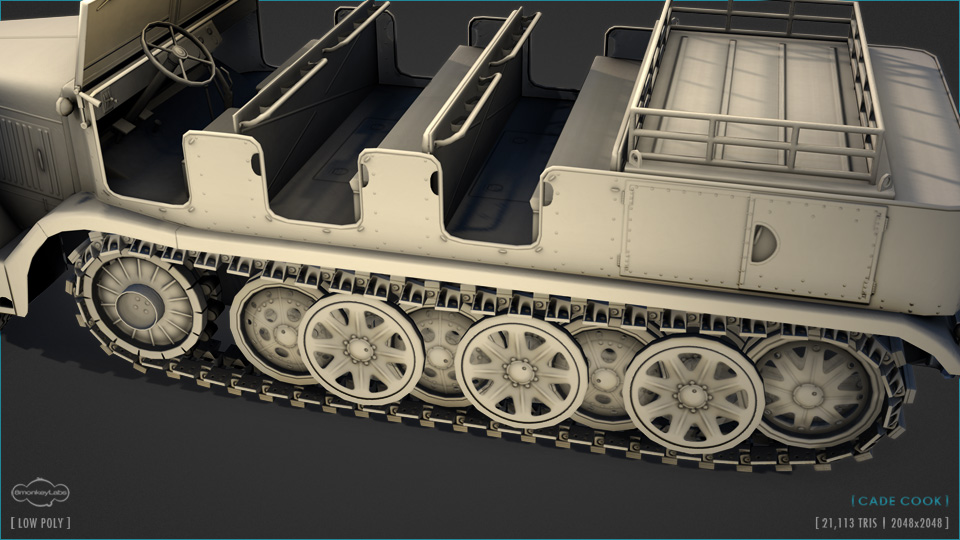
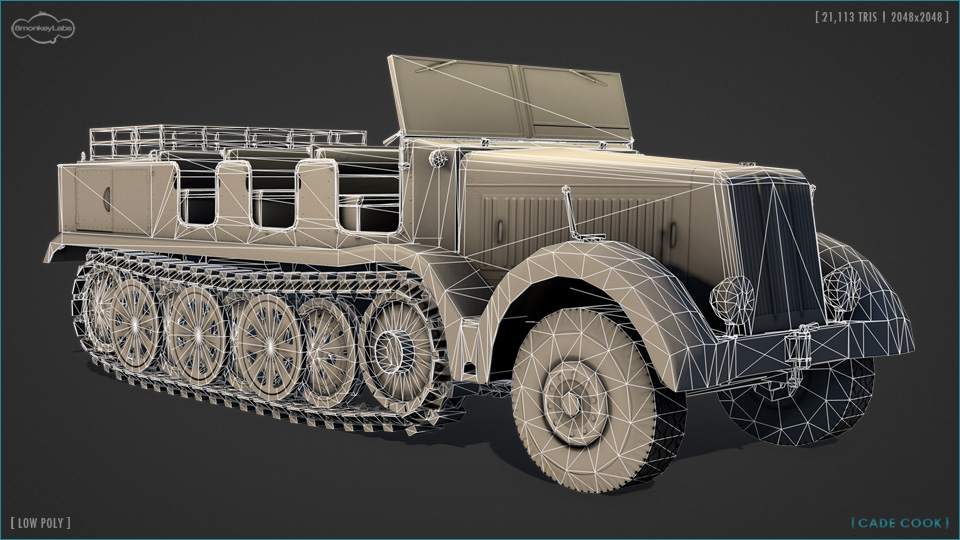
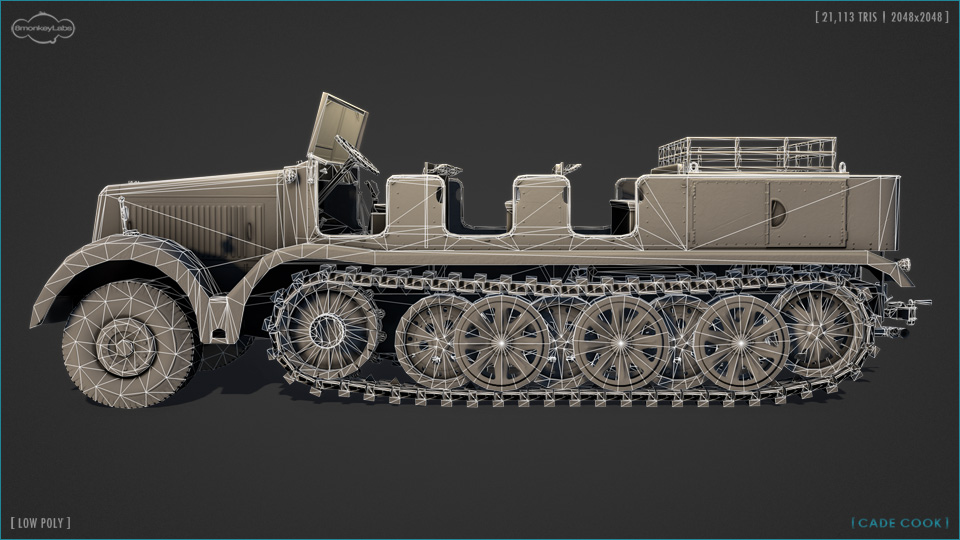
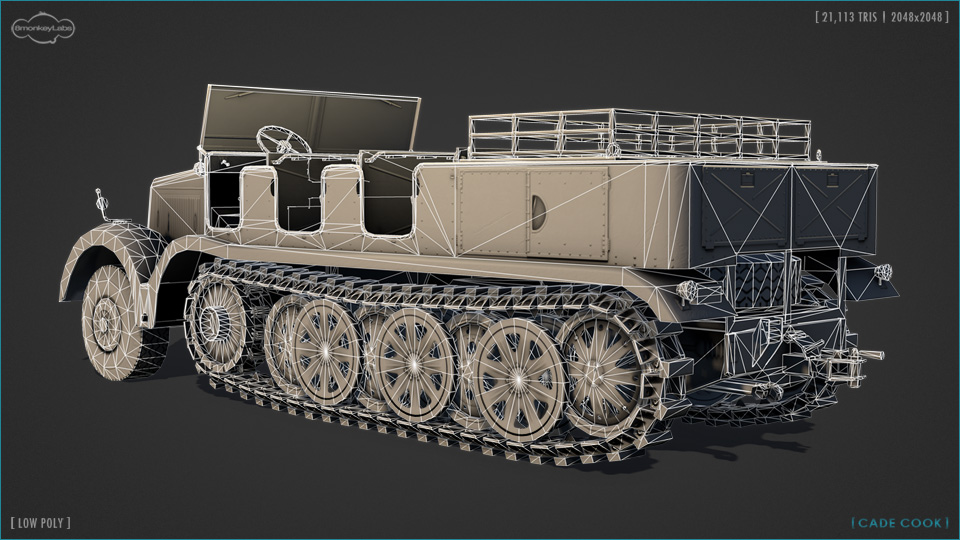
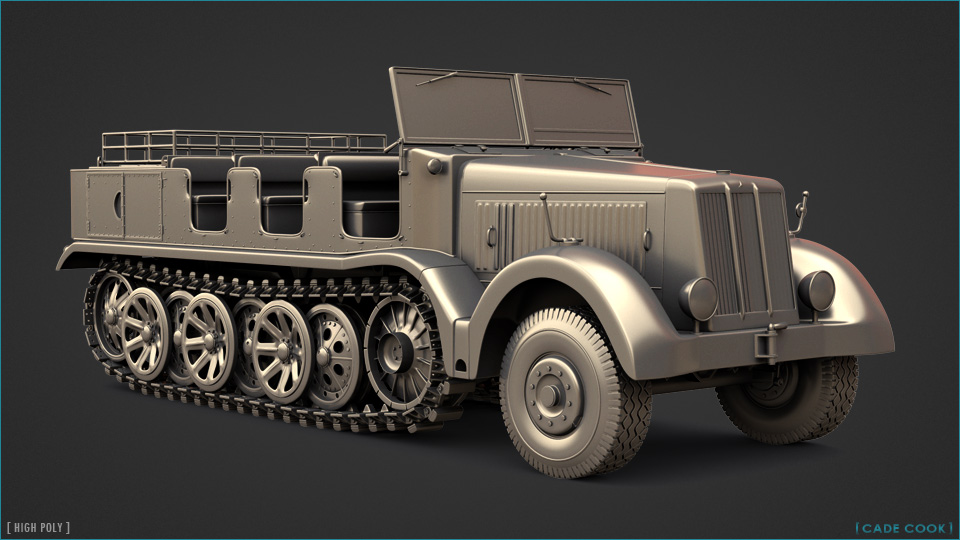
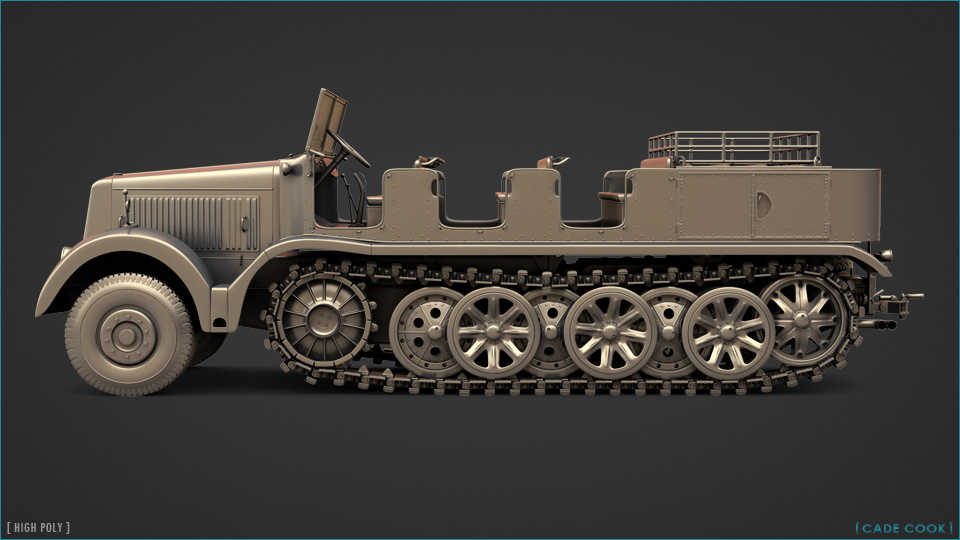
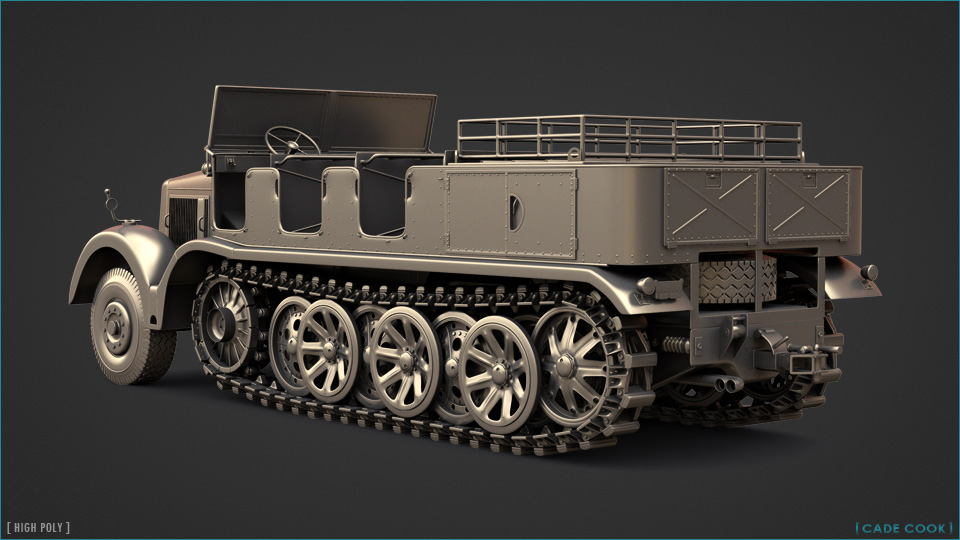
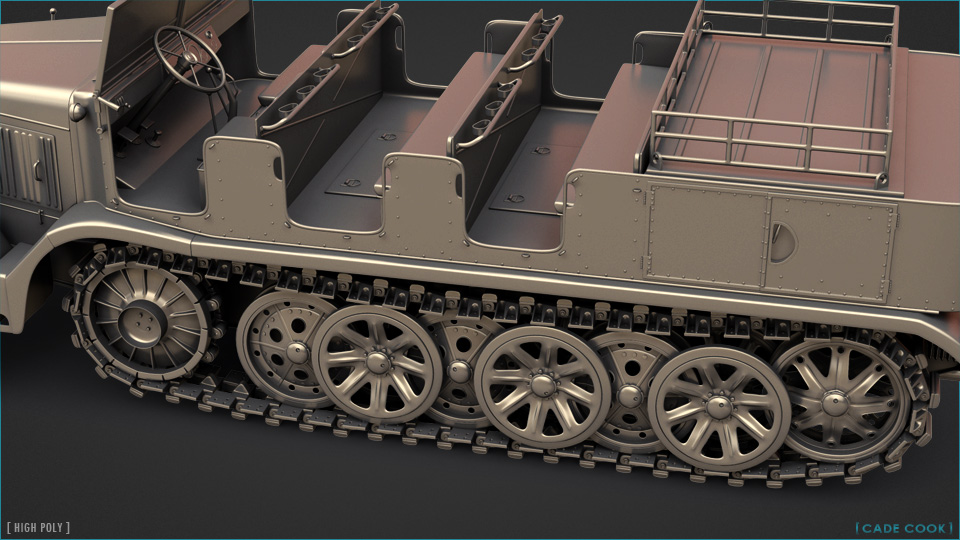
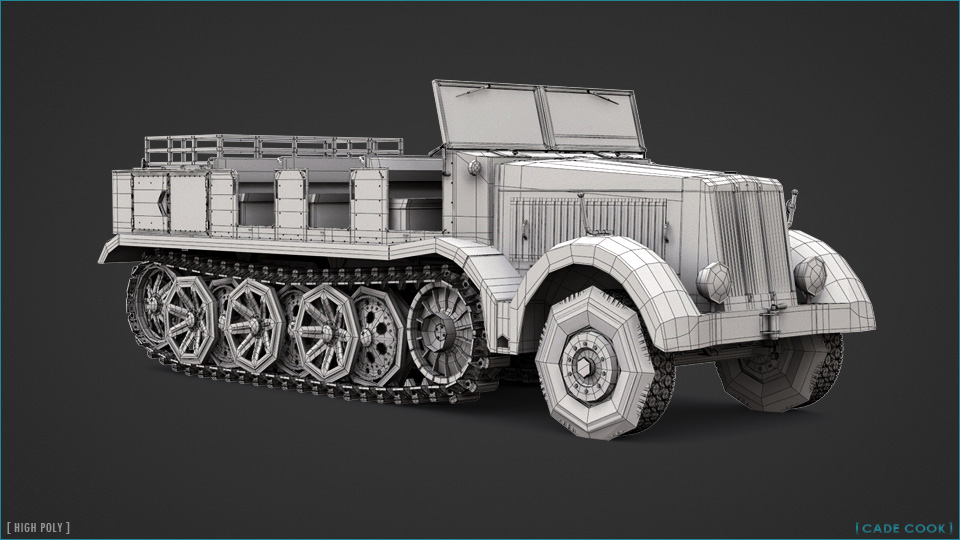
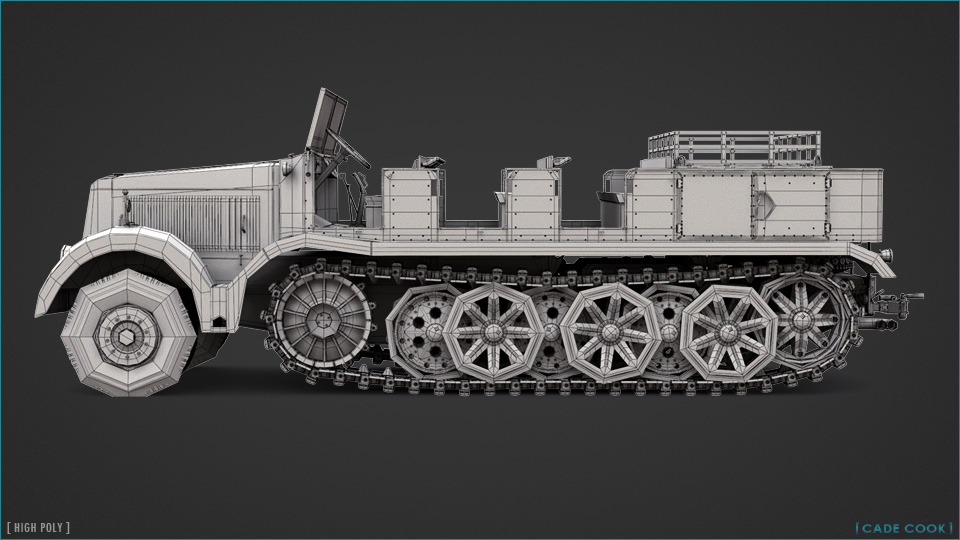
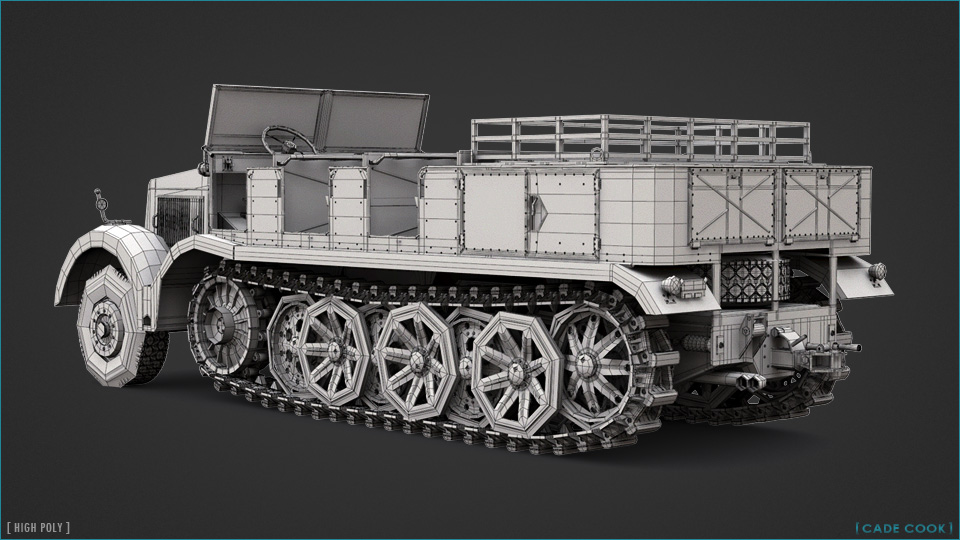
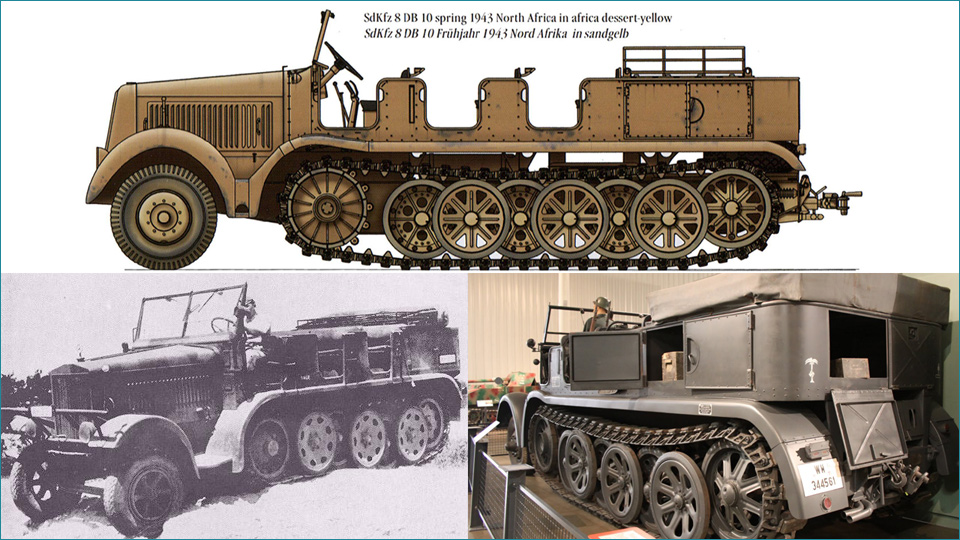
The first image I found for this truck when I began searching for vehicles to model was the drawing shown above. I was fortunate enough to find multiple blue-print/orthographic drawings of this truck, but felt like finding other photographic reference was valuable as well. These are just a couple of the images I gathered. I found a few other photos of very similar trucks, but some of the best ones I came across were of scale models.
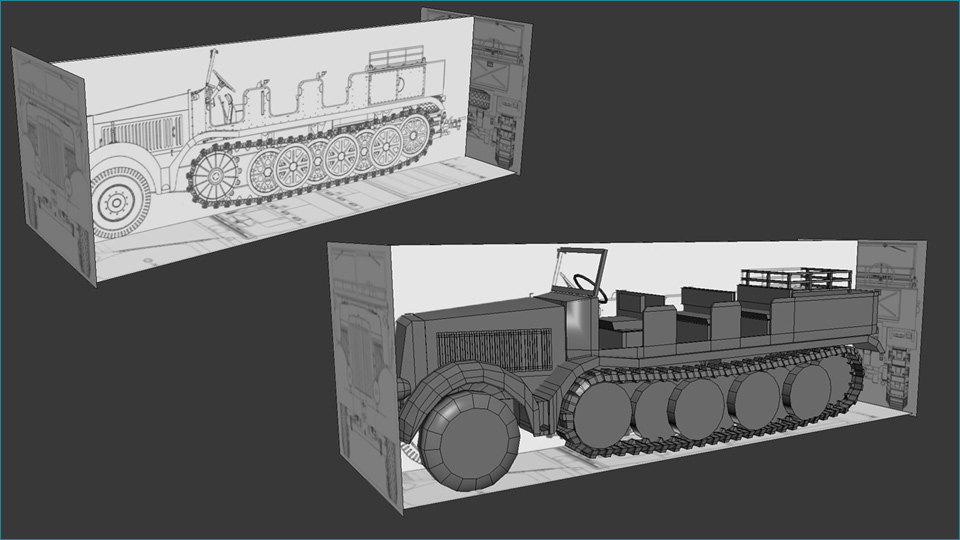
I brought those orthographic drawings into 3DS Max and applied them to planes (oriented in the same direction) as bitmaps. During that process, I made sure the images were never scaled non-uniformly as that would have thrown off the proportions of my model. Once I had that set up, I began blocking in my model using mostly primitives and planar modeling.
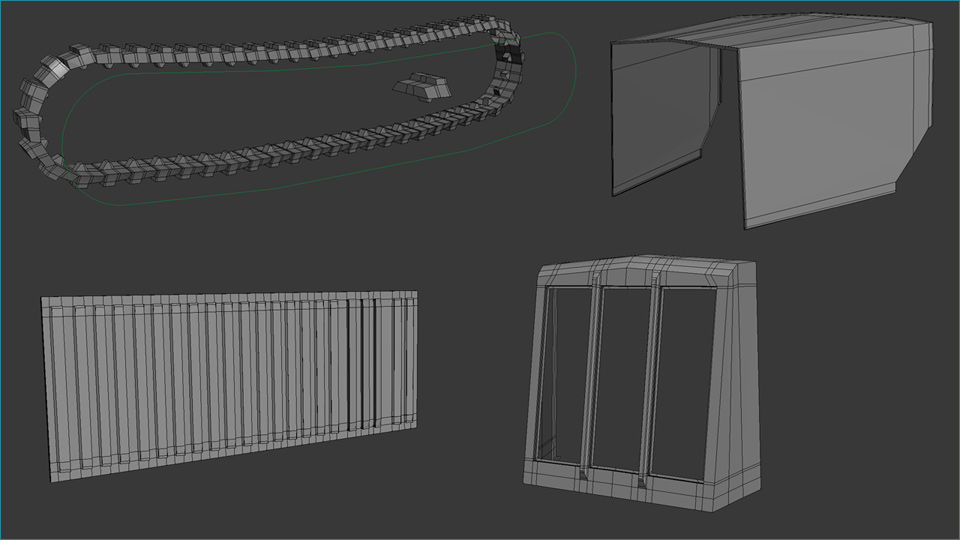
The top left area of this image shows how I blocked in the tread for the back section of the vehicle. I created a basic shape for one link in the tread and used the Snapshot tool to generate the duplicates that followed a spline I drew around the wheels. The other three screenshots show how I approached the hood, vents on the side of the hood, and the grille.
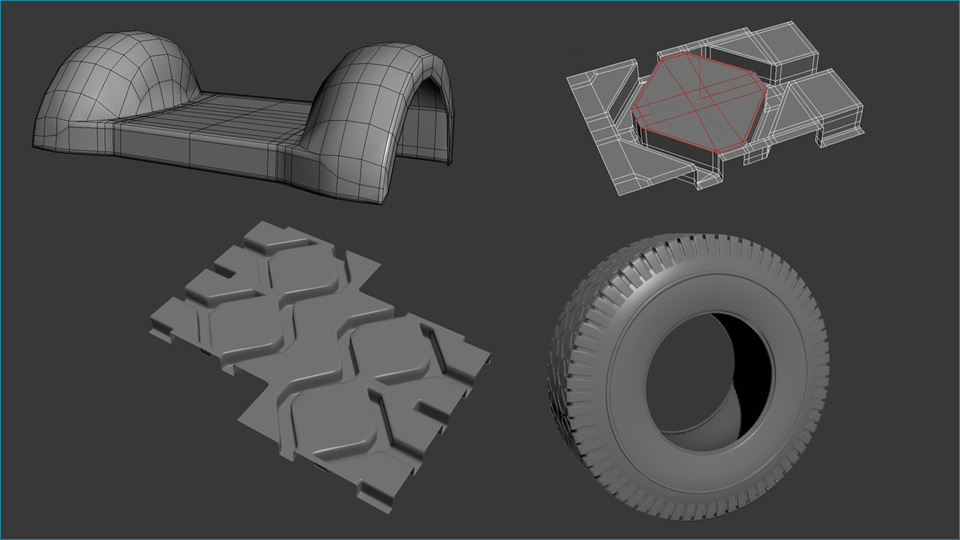
I thought the front fenders and bumper of this truck combined to make a really interesting shape. I started that particular piece by planar modeling the side of the fender well. Then I selected the top-most set of edges and began extruding them accross to form the rest of the piece. Once I got half way, I mirrored what I had made to give me a symmetrical second half. To create the tread for the front tires, I created a single modular piece from a plane, duplicated it and welded those together until it became a long strip of tread, and then used a bend modifier to wrap it into a tire-like shape.
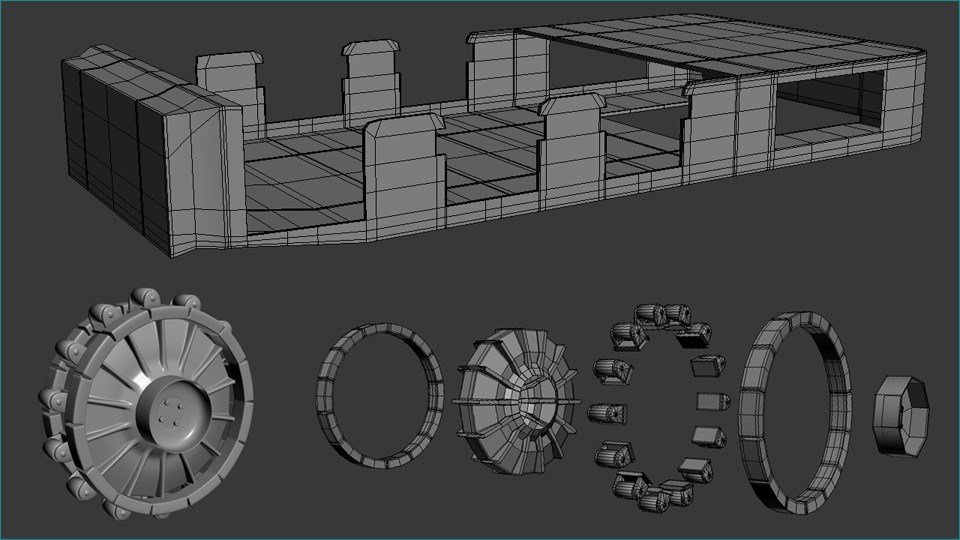
The top of this image shows the body of the truck. Like the fenders, I created this by initially modeling from the side view, then extruding the necessary edges across to the half way point. The bottom half of this image shows how I built the wheel at the front of the tread.
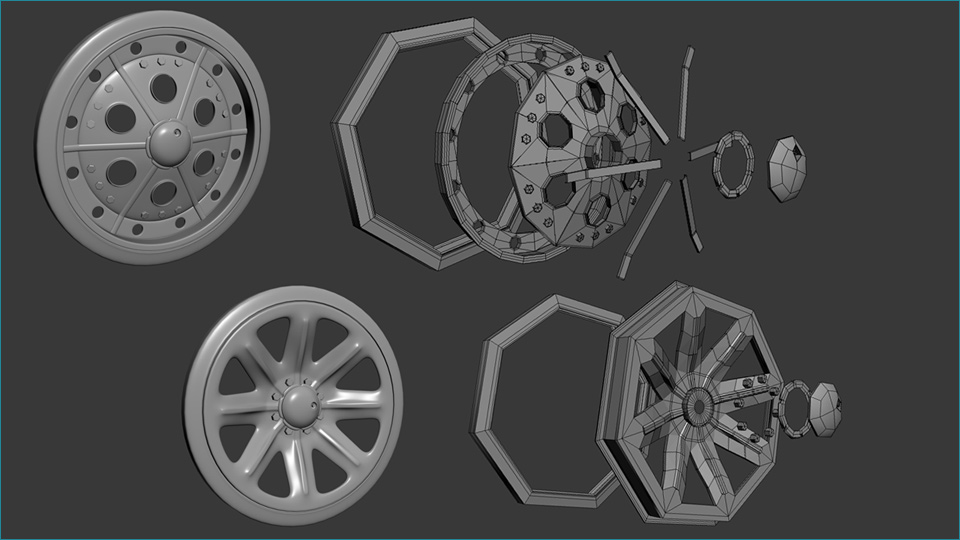
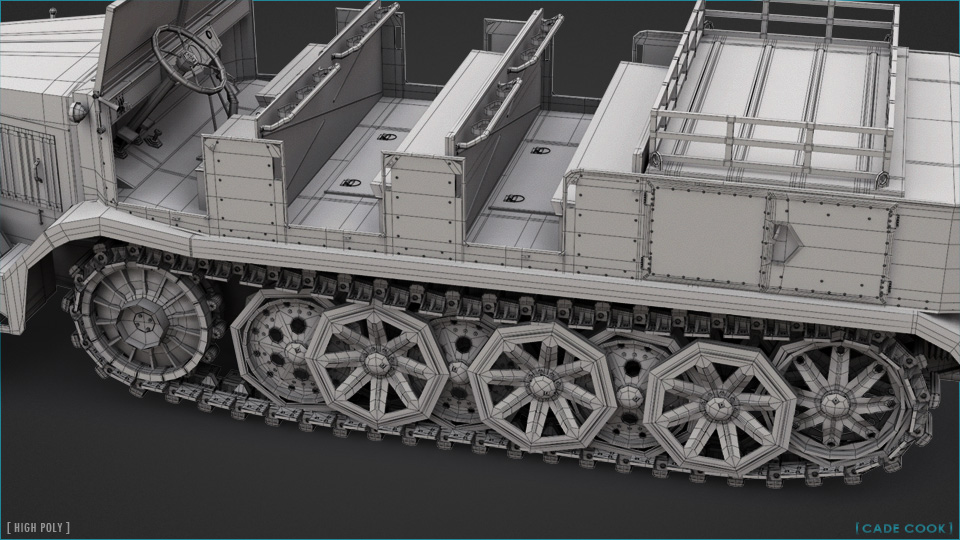
Each wheel inside the tread was created with several different pieces. Though there are three variations, they all shared the same hub cap. These shots show the finished/assembled versions next to the exploded unsmoothed meshes.
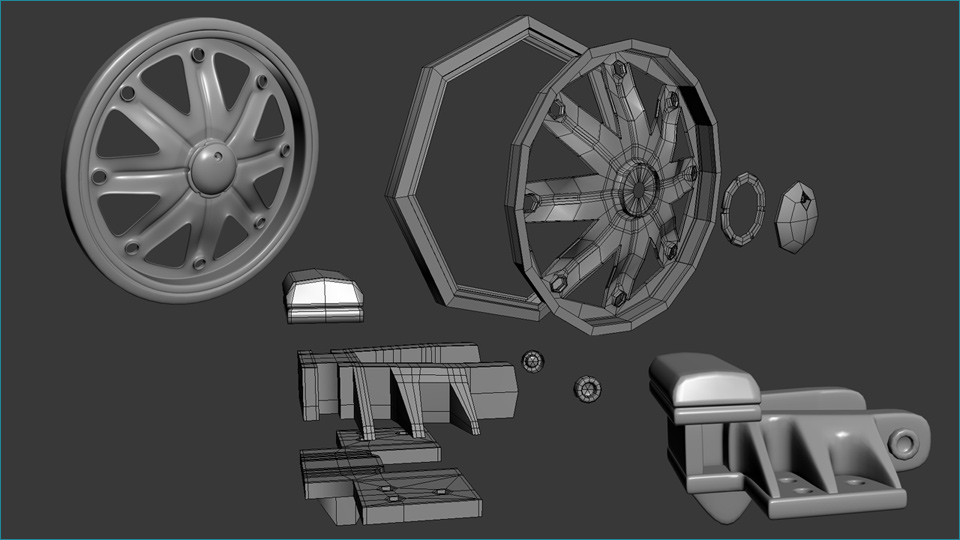
The wheel at the top of this image was probably the most difficult one for me to create. It's similar to the second wheel in the previous shot, but the addition of the holes at the end of each ridge on the rim posed an interesting challenge. Below the wheel are a couple of closer images of a single link of the tread.
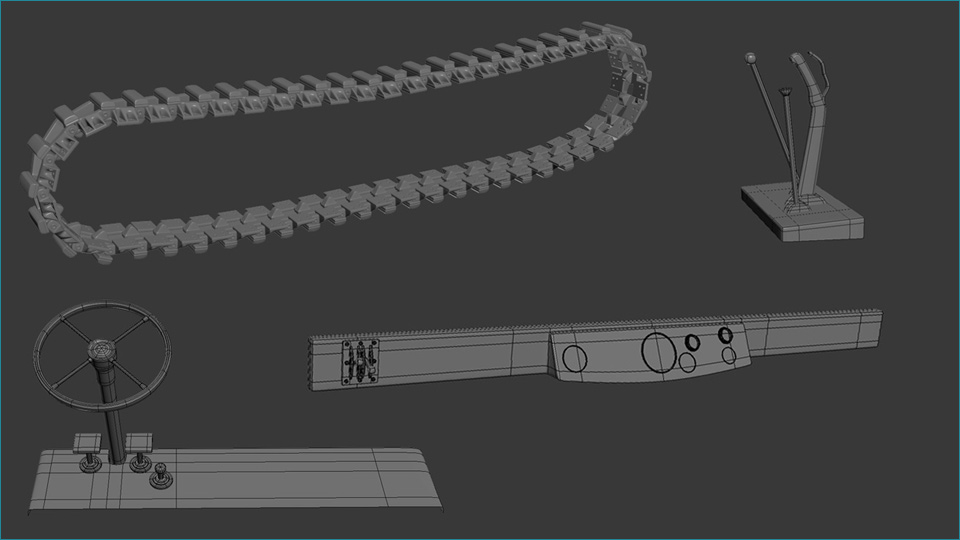
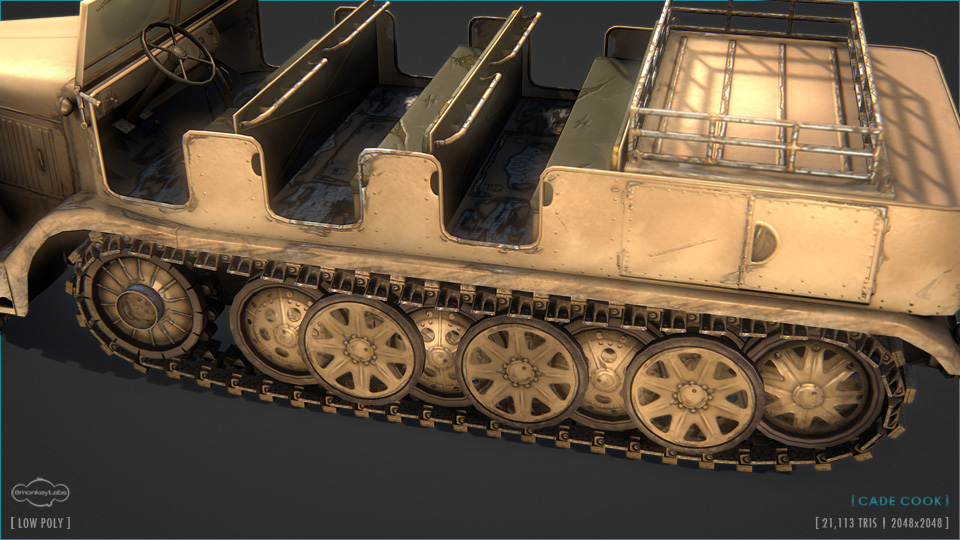
I created the final tread the same way I created the blocked in version- the Snapshot tool (animated around the same spline). The rest of these shots are just a few close ups of some of the interior pieces that were not easily seen in my final renders.
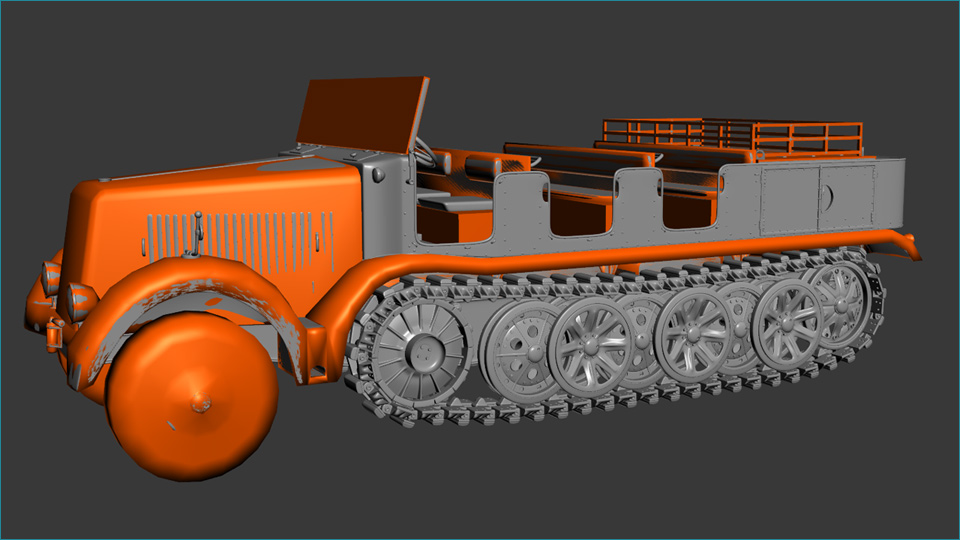
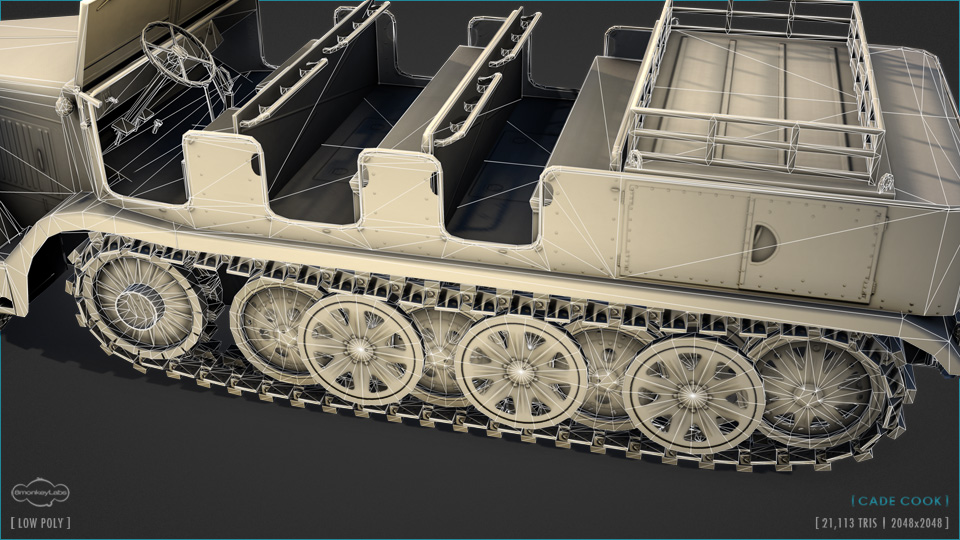
Once I had the high poly version of the model finished, I moved on to the low poly. I utilized modified versions of pieces of the base mesh of the high poly where I could, and completely rebuilt other pieces of the low poly where that would not work as well. There are some shading errors in this shot as a result of unadjusted smoothing groups as I was focusing solely on silhouette at this point. The bright orange material was to help me see how well I was following the silhouette of the high poly.
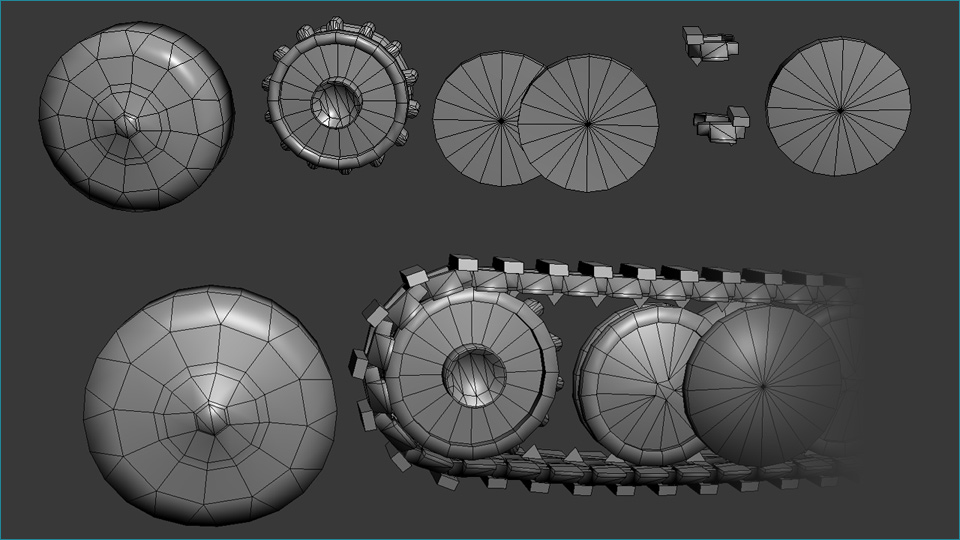
These two groups of wheels show my initial attempts (top) compared to the final structures that I went with (bottom). In the final versions, I flattened the front tire some, and had to add some extra detail to one of the kinds of wheels inside the tread.
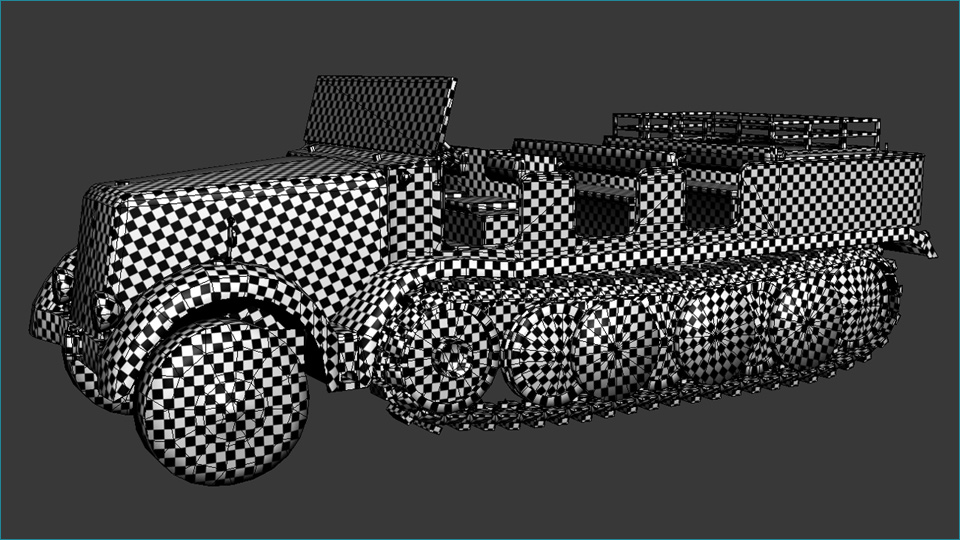
My texture maps were shown nearer the top of this page, but once I got everything unwrapped, this is what my model looked like with a checker pattern bitmap applied. In this shot, I was trying to make sure that as little stretching of the bitmap was occuring as possible.
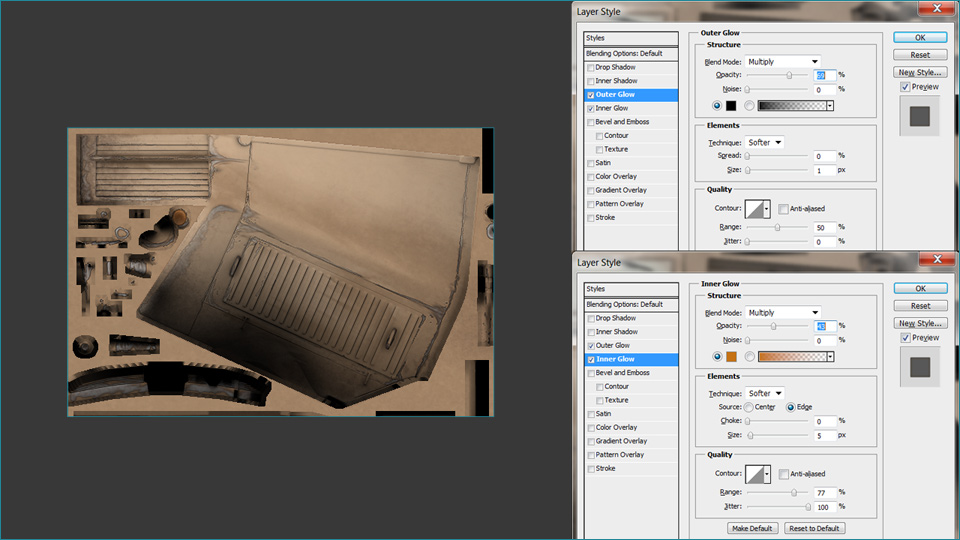
I wanted my version of this vehicle look like it had been worn out through tons of abuse in a desert-like environment. Above, I show a couple of layer styles that I applied to the base layer of brown paint to help give the edges around the wear some variation. The paint layer was above a silver/grey metal layer in my Photoshop document. To get the effect I was looking for, I applied both layer styles to my paint layer, masked areas of it away to expose the metal, and used the smudge tool. This made it look like areas of the paint had actually been "sanded" off. When damaging areas of this model, I tried to keep in mind where flying sand might constantly hit this vehicle, and also where soldiers entering/exiting would always step or grab. Their actions would grind sand into the paint even more.
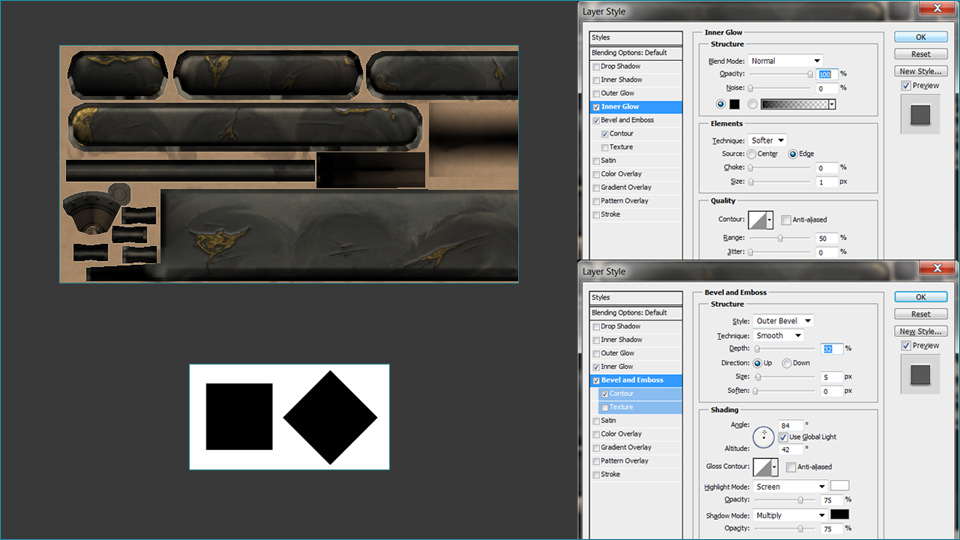
In addition to the damage on the paint, I figured the seats would be dusty and sun damaged- causing them to split and tear easily. The layer styles on the right show how I created the effect of the exposed foam having raised edges around it. The two black squares in the bottom left of this image represent two simple brushes that I created and used throughout a majority of this project (along with a couple of grunge brushes).
 |
 |
 |
 |
 |